ESP32 SSD1306 OLED Screen Tinkering
August 9, 2026
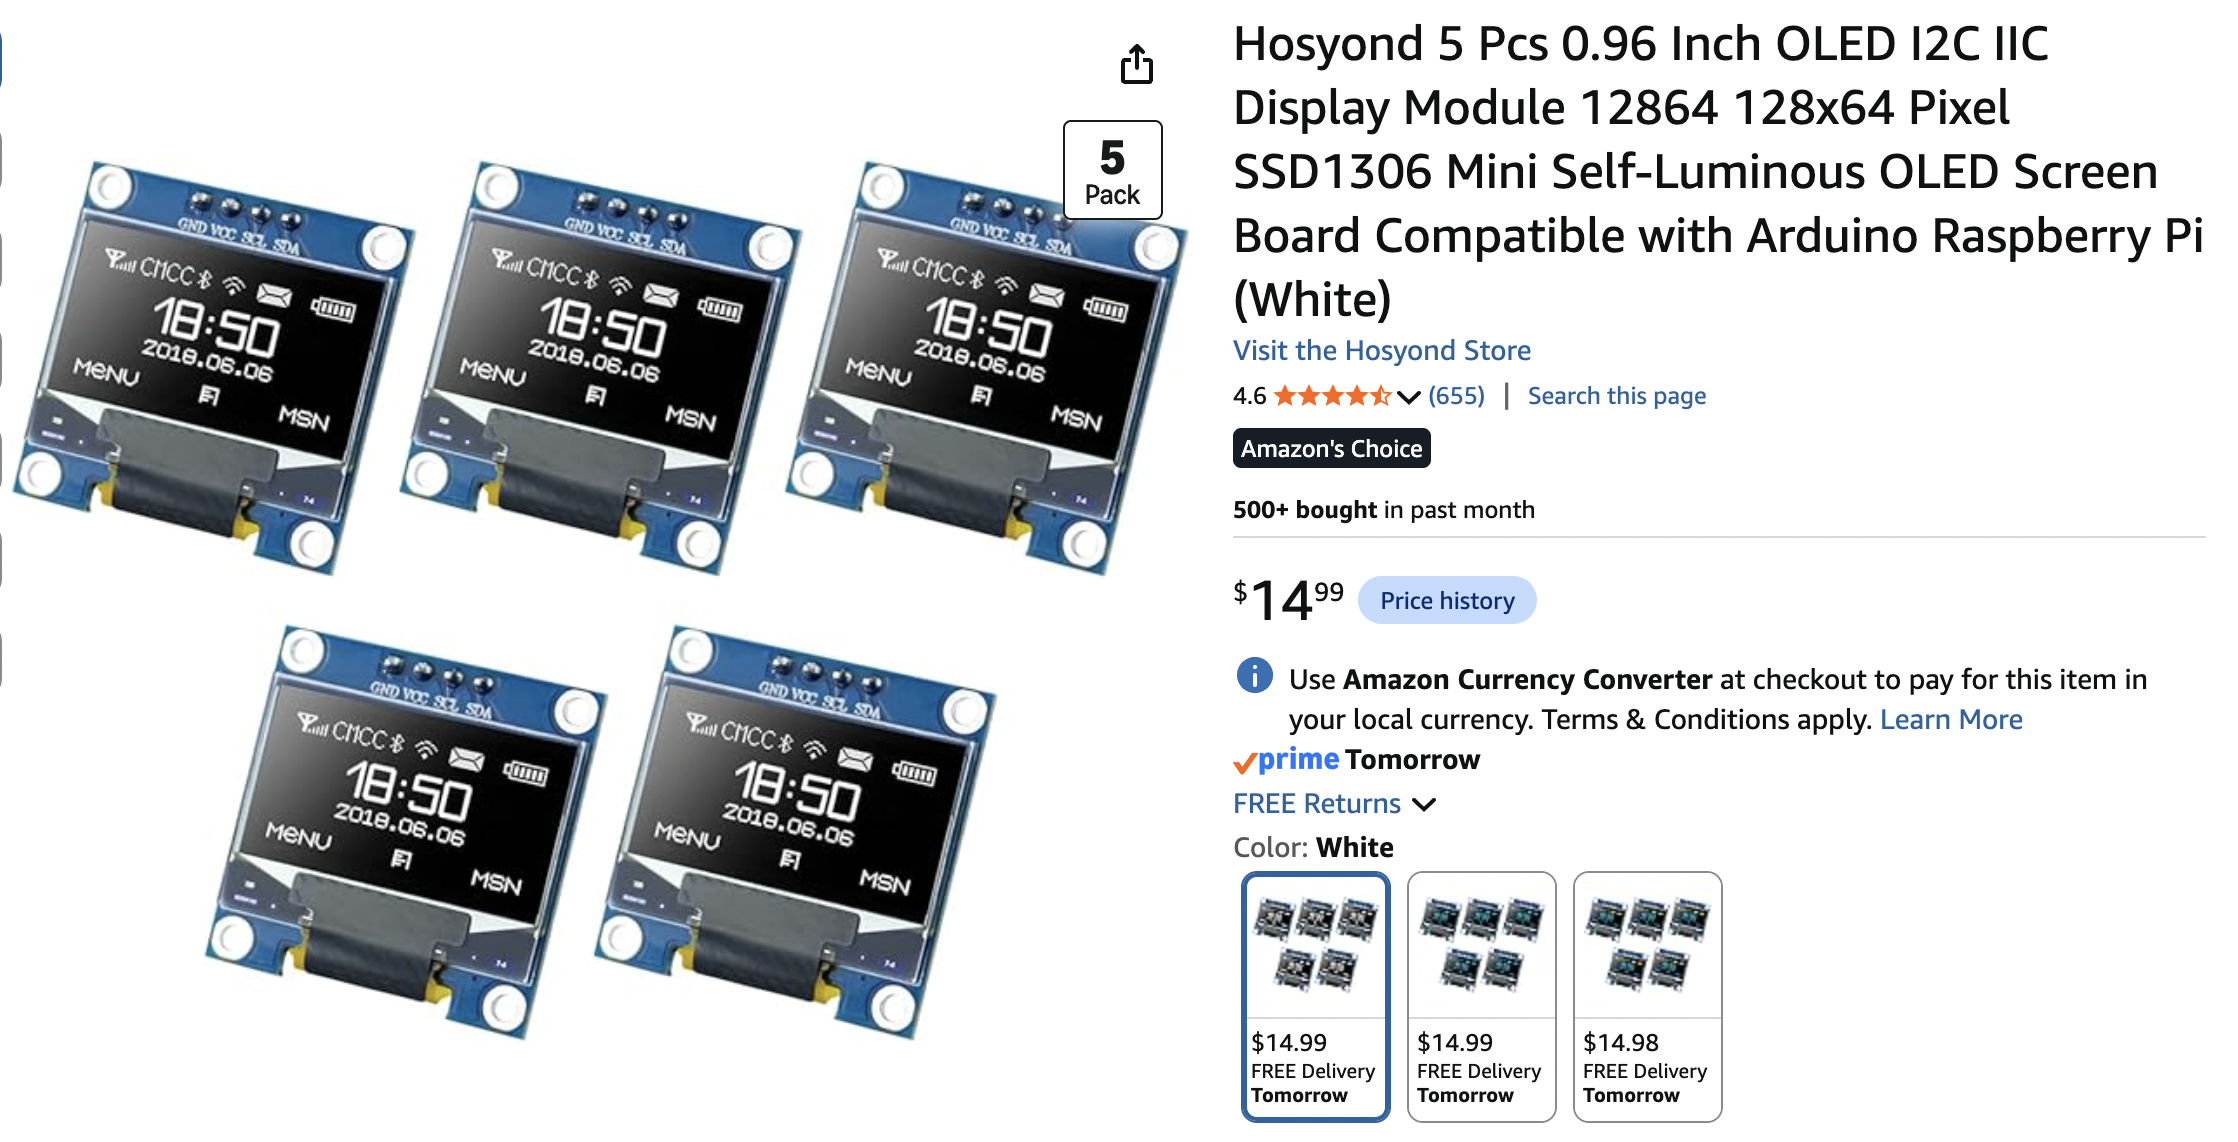
I am working on a consumer electronics prototype that involves displaying images on a small screen over the internet. I picked up a pack of 5 I2C 0.96 inch OLED displays to test and tinker with. I had originally got a 9-pin SPI display but I was struggling to get it working (probably because of my shoddy solder job) so I decided to take a step back and try something simpler.
Using PlatformIO for my Build System
I am using PlatformIO to manage my ESP32 projects. It is a tool that helps manage settings and dependencies for embedded projects and integrates nicely with VS code.
Connecting the display
I followed this Medium article to use the OLED display Using SSD1306 OLED Display on ESP32
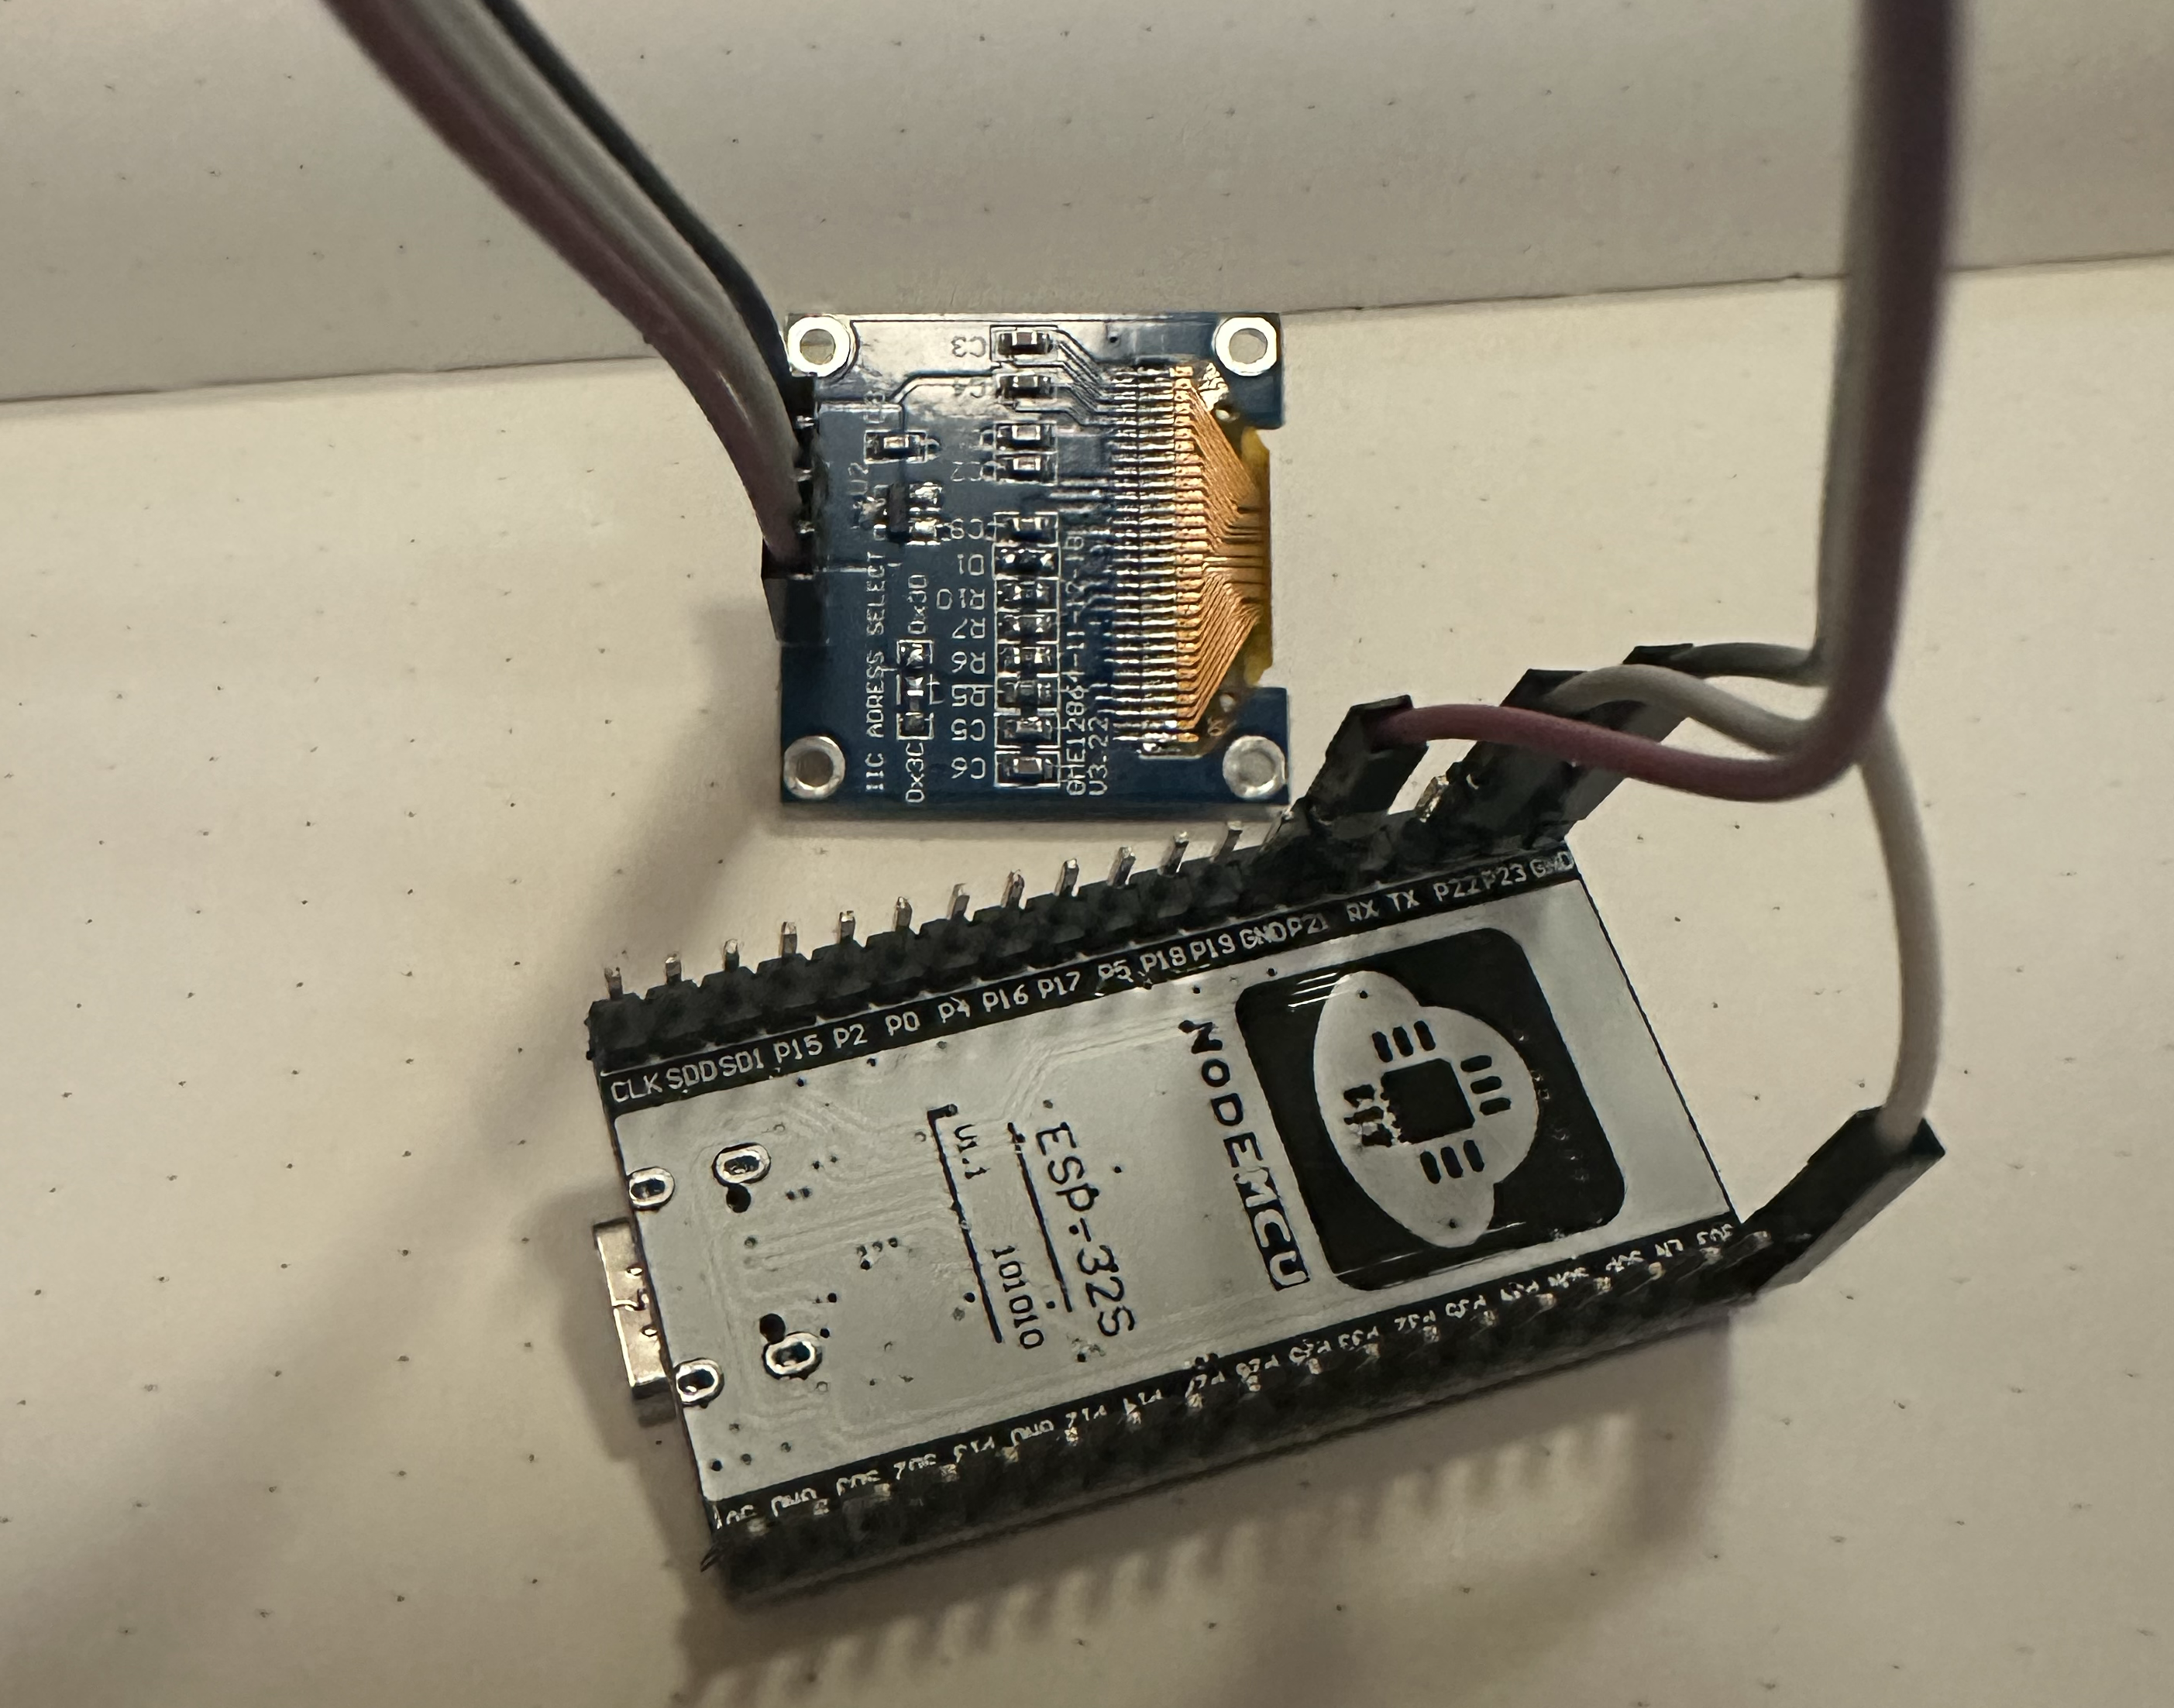
The wiring is as follows:
| OLED | -> | ESP32 |
|---|---|---|
| GND | -> | GND |
| VCC | -> | 3v3 |
| SLC | -> | GPIO22 |
| SDA | -> | GPIO21 |
These connections allow us to use the I2C protocol.
A quick refresher on the I2C protocol:
SCL = Serial Clock Line
SDA = Serial DAta line
SCL is used to synchronize the clock between the two devices, while SDA transfers data across the line as a stream of binary symbols (high and low voltages) in data frames.
Also:
VCC = Voltage at the Common Collector. This is the positive power supply voltage for the board.
GND = Ground.
I used a set of female-to-female jumper cables to connect the pins:
Operating the display
The tutorial instructed me to install the following libraries:
Adafruit SSD1306
Adafruit GFX
However, the tutorial uses the ArduinoIDE and I am using PlatformIO with VSCode. To install these libraries with PlatformIO:
- Go to the PlatformIO Registry and search for the names of the libraries you need.
- Copy the library's dependency string.
- Paste it into the
lib_depsoption in your project'splatformio.inifile:
lib_deps =
    adafruit/Adafruit SSD1306@^2.5.17
    adafruit/Adafruit GFX Library@^1.12.6
I built the code from the tutoial and flashed the ESP32:
pio run -t upload
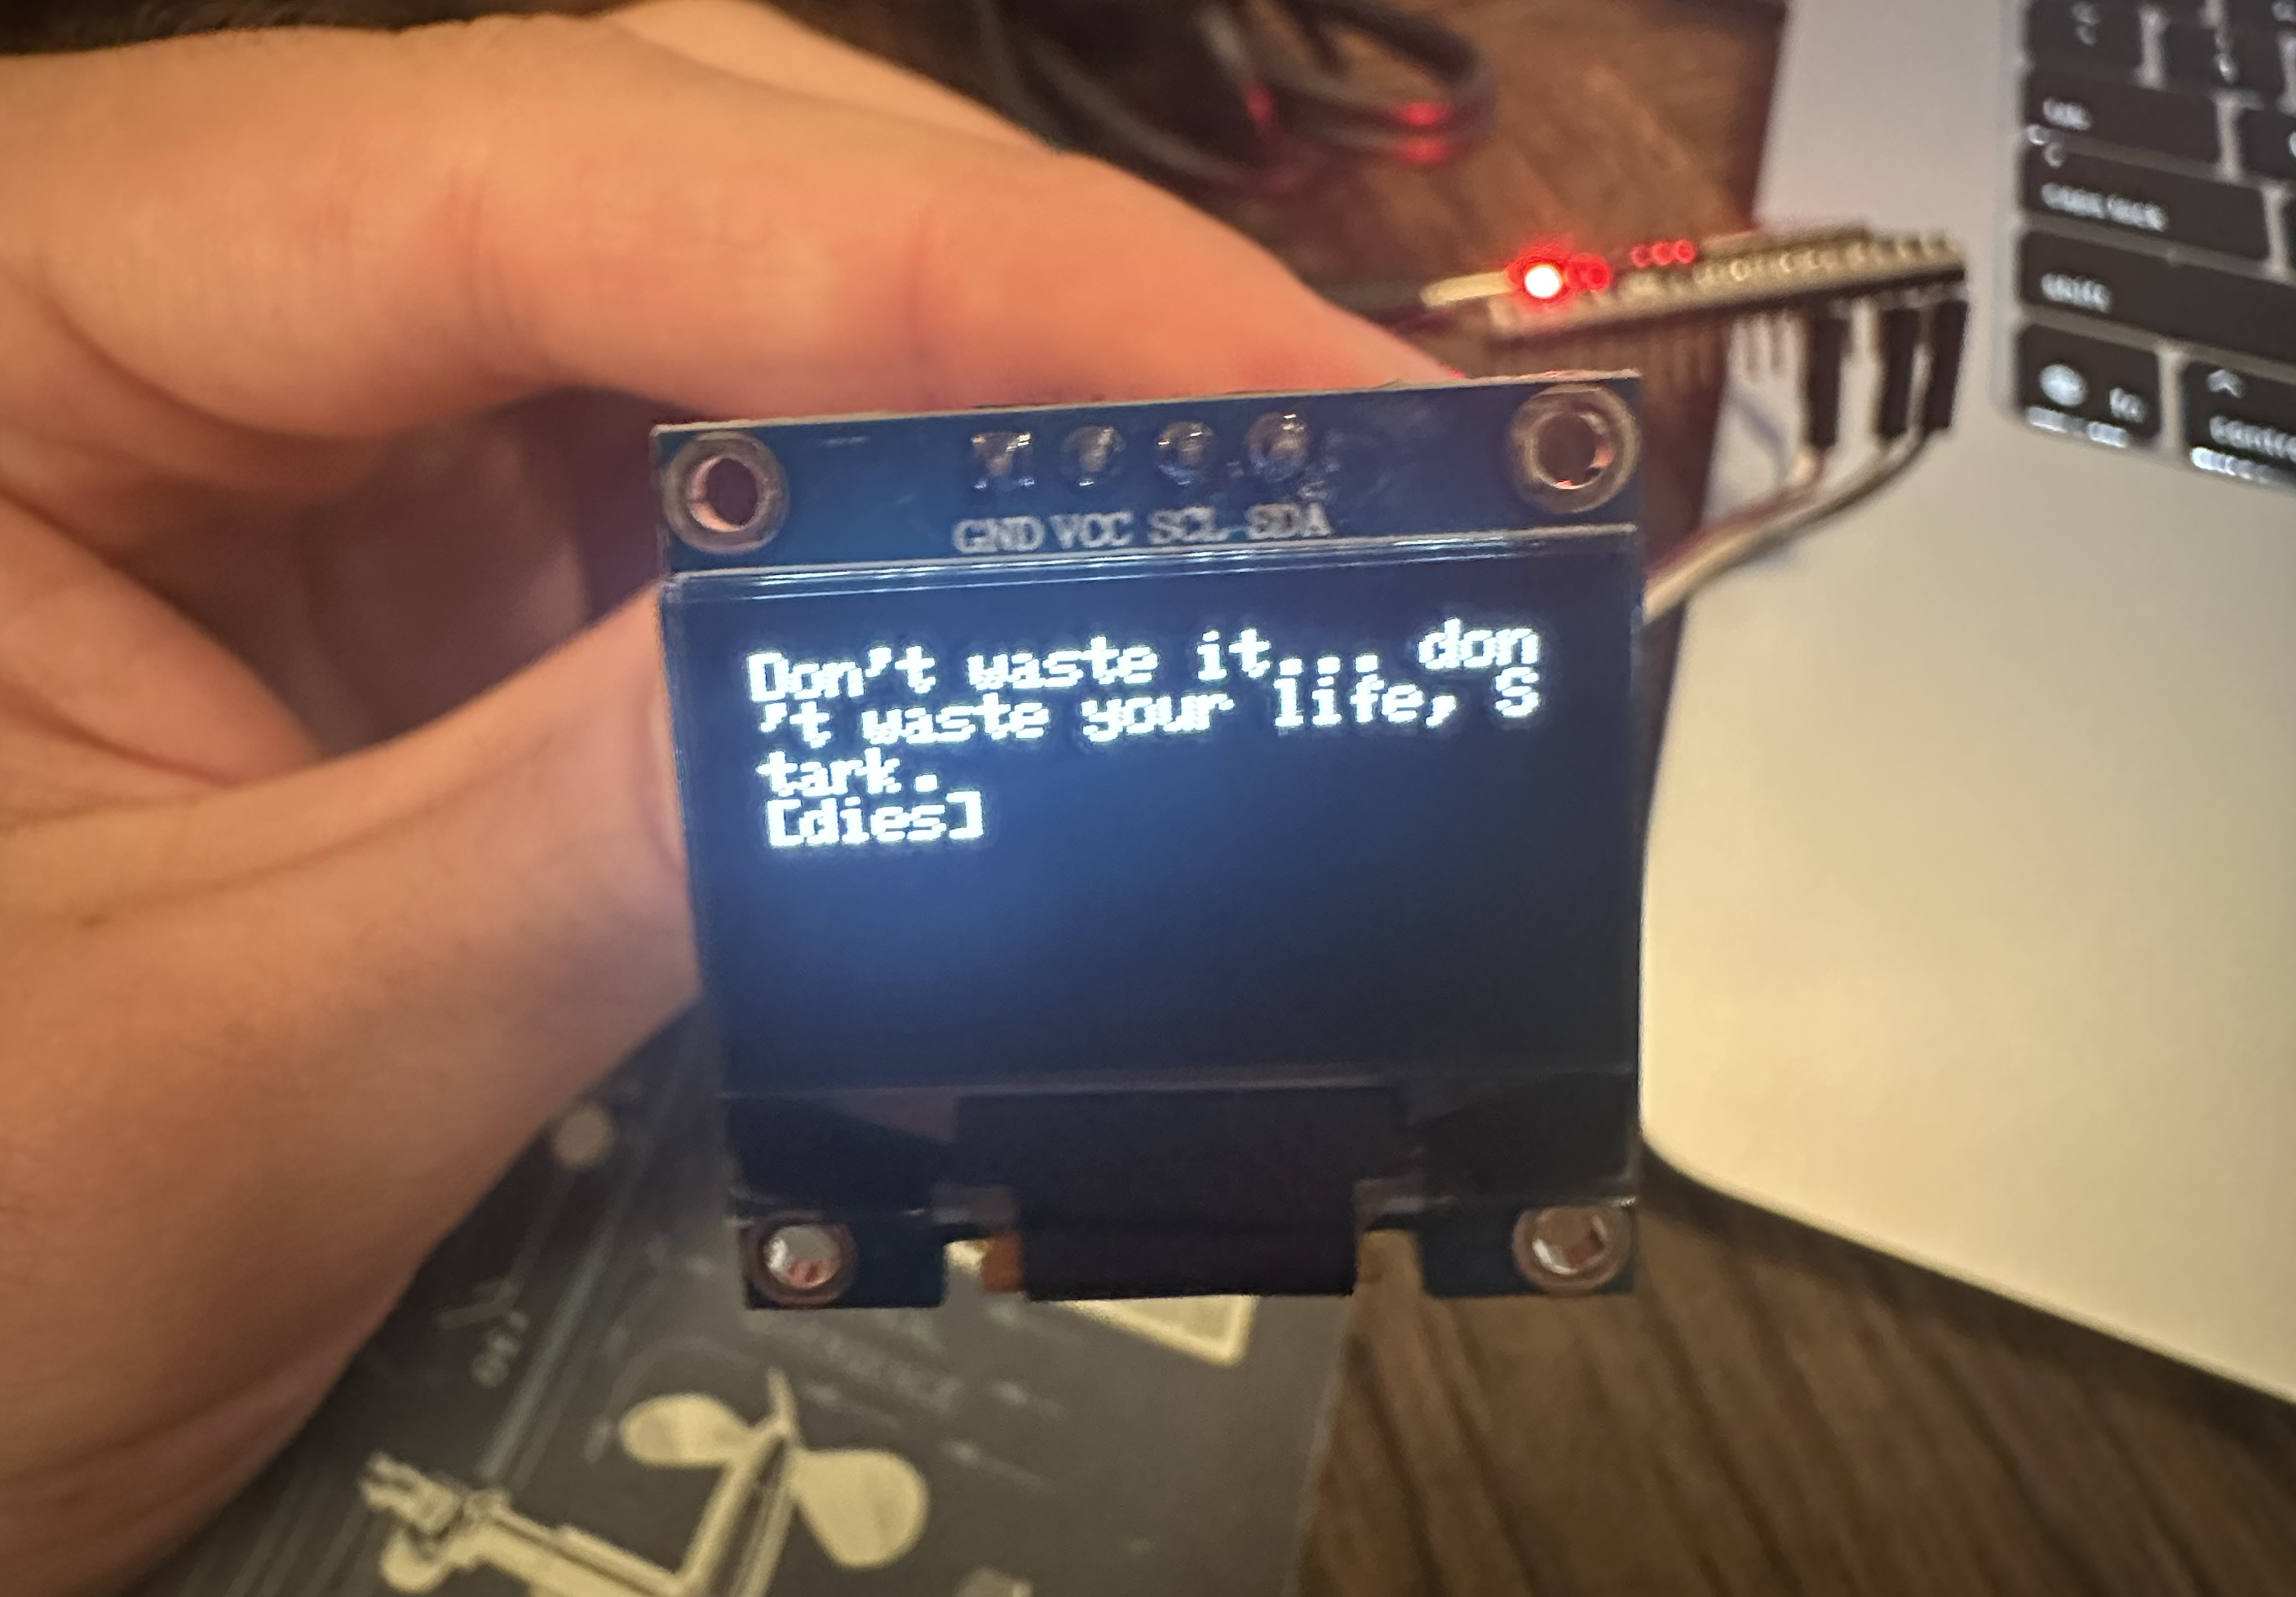
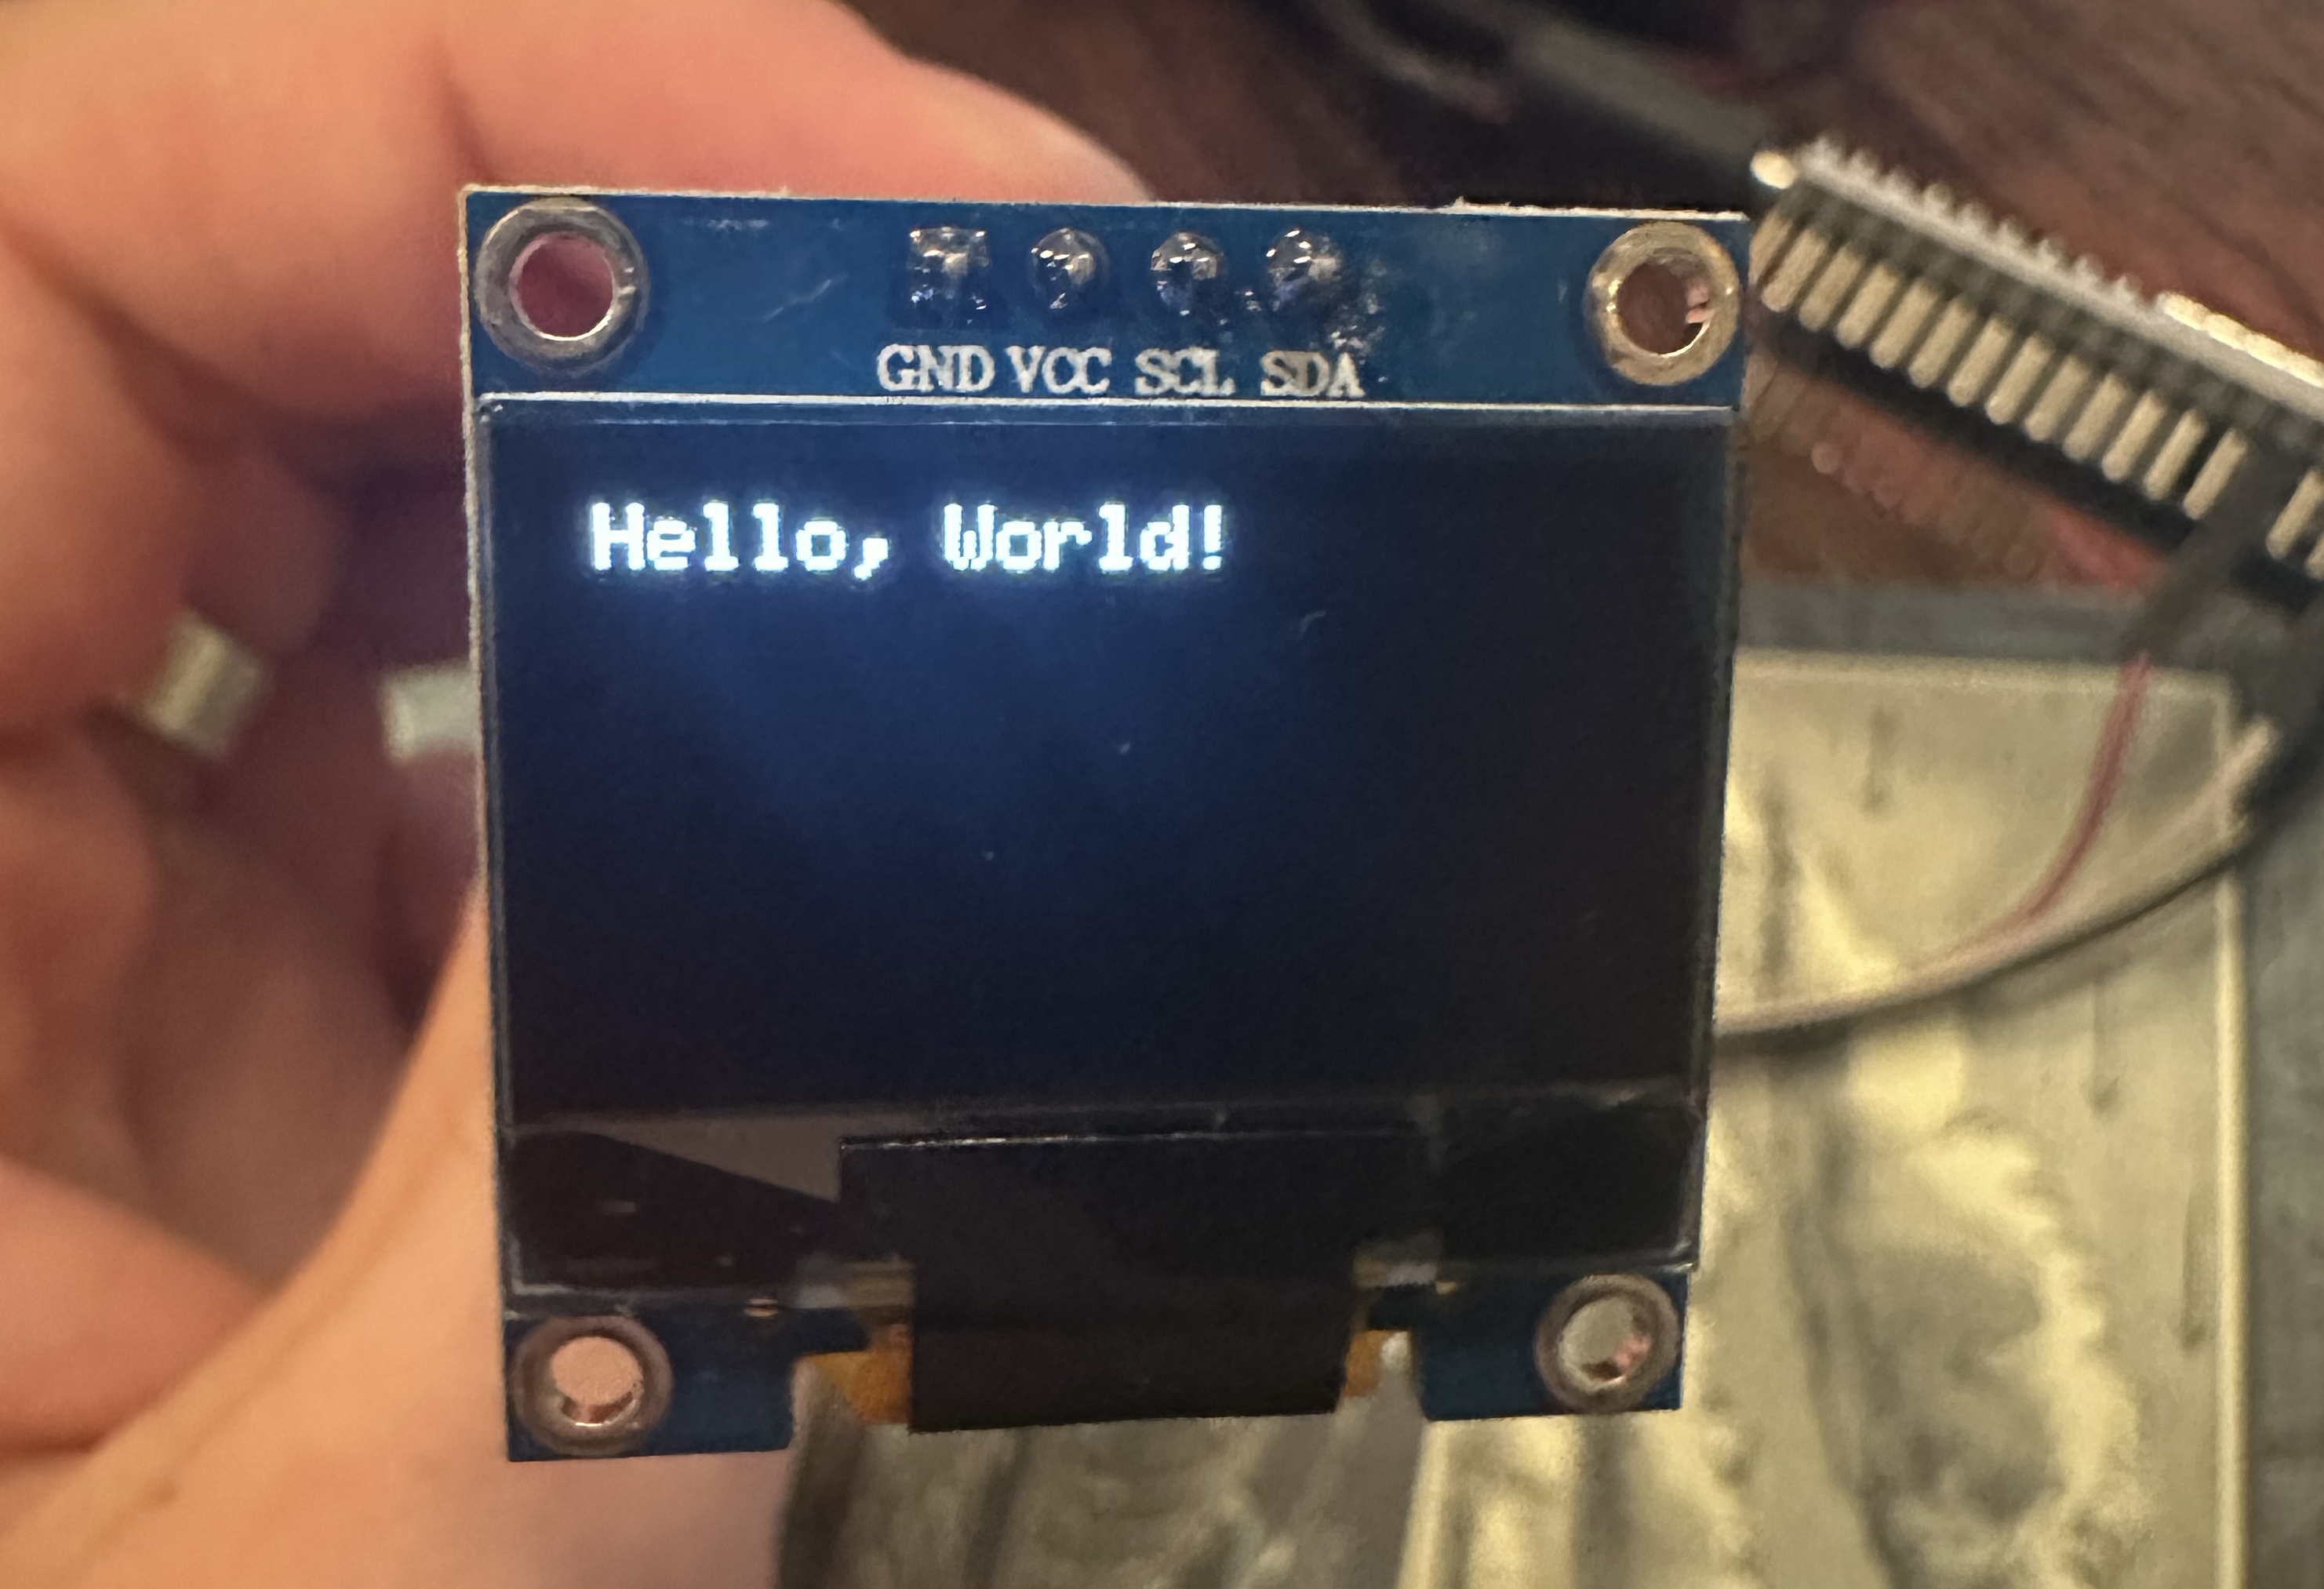
And the OLED screen booted up. It displays the Adafruit logo, and then the "Hello World" message.
Using it to display something interesting
Device temperature
I added this function to the top of main.cpp. It ensures the compiler uses C rules to compile this function when it is used since temperature_sens_read() is a ESP32 built-in ROM function.
extern "C" {
  uint8_t temprature_sens_read();
}
Then I added a temperature read and display into the loop:
void loop() {

  display.setTextSize(1);
  display.setTextColor(WHITE);

    // Get the ESP32 device temperature:
     float temp_c = (temprature_sens_read() - 32) / 1.8;


  display.setCursor(0,0);
  display.println("Chip Temp: ");
  display.print(temp_c);
  display.println(" °C");
  display.display();
  delay(2000);
  display.clearDisplay();
}
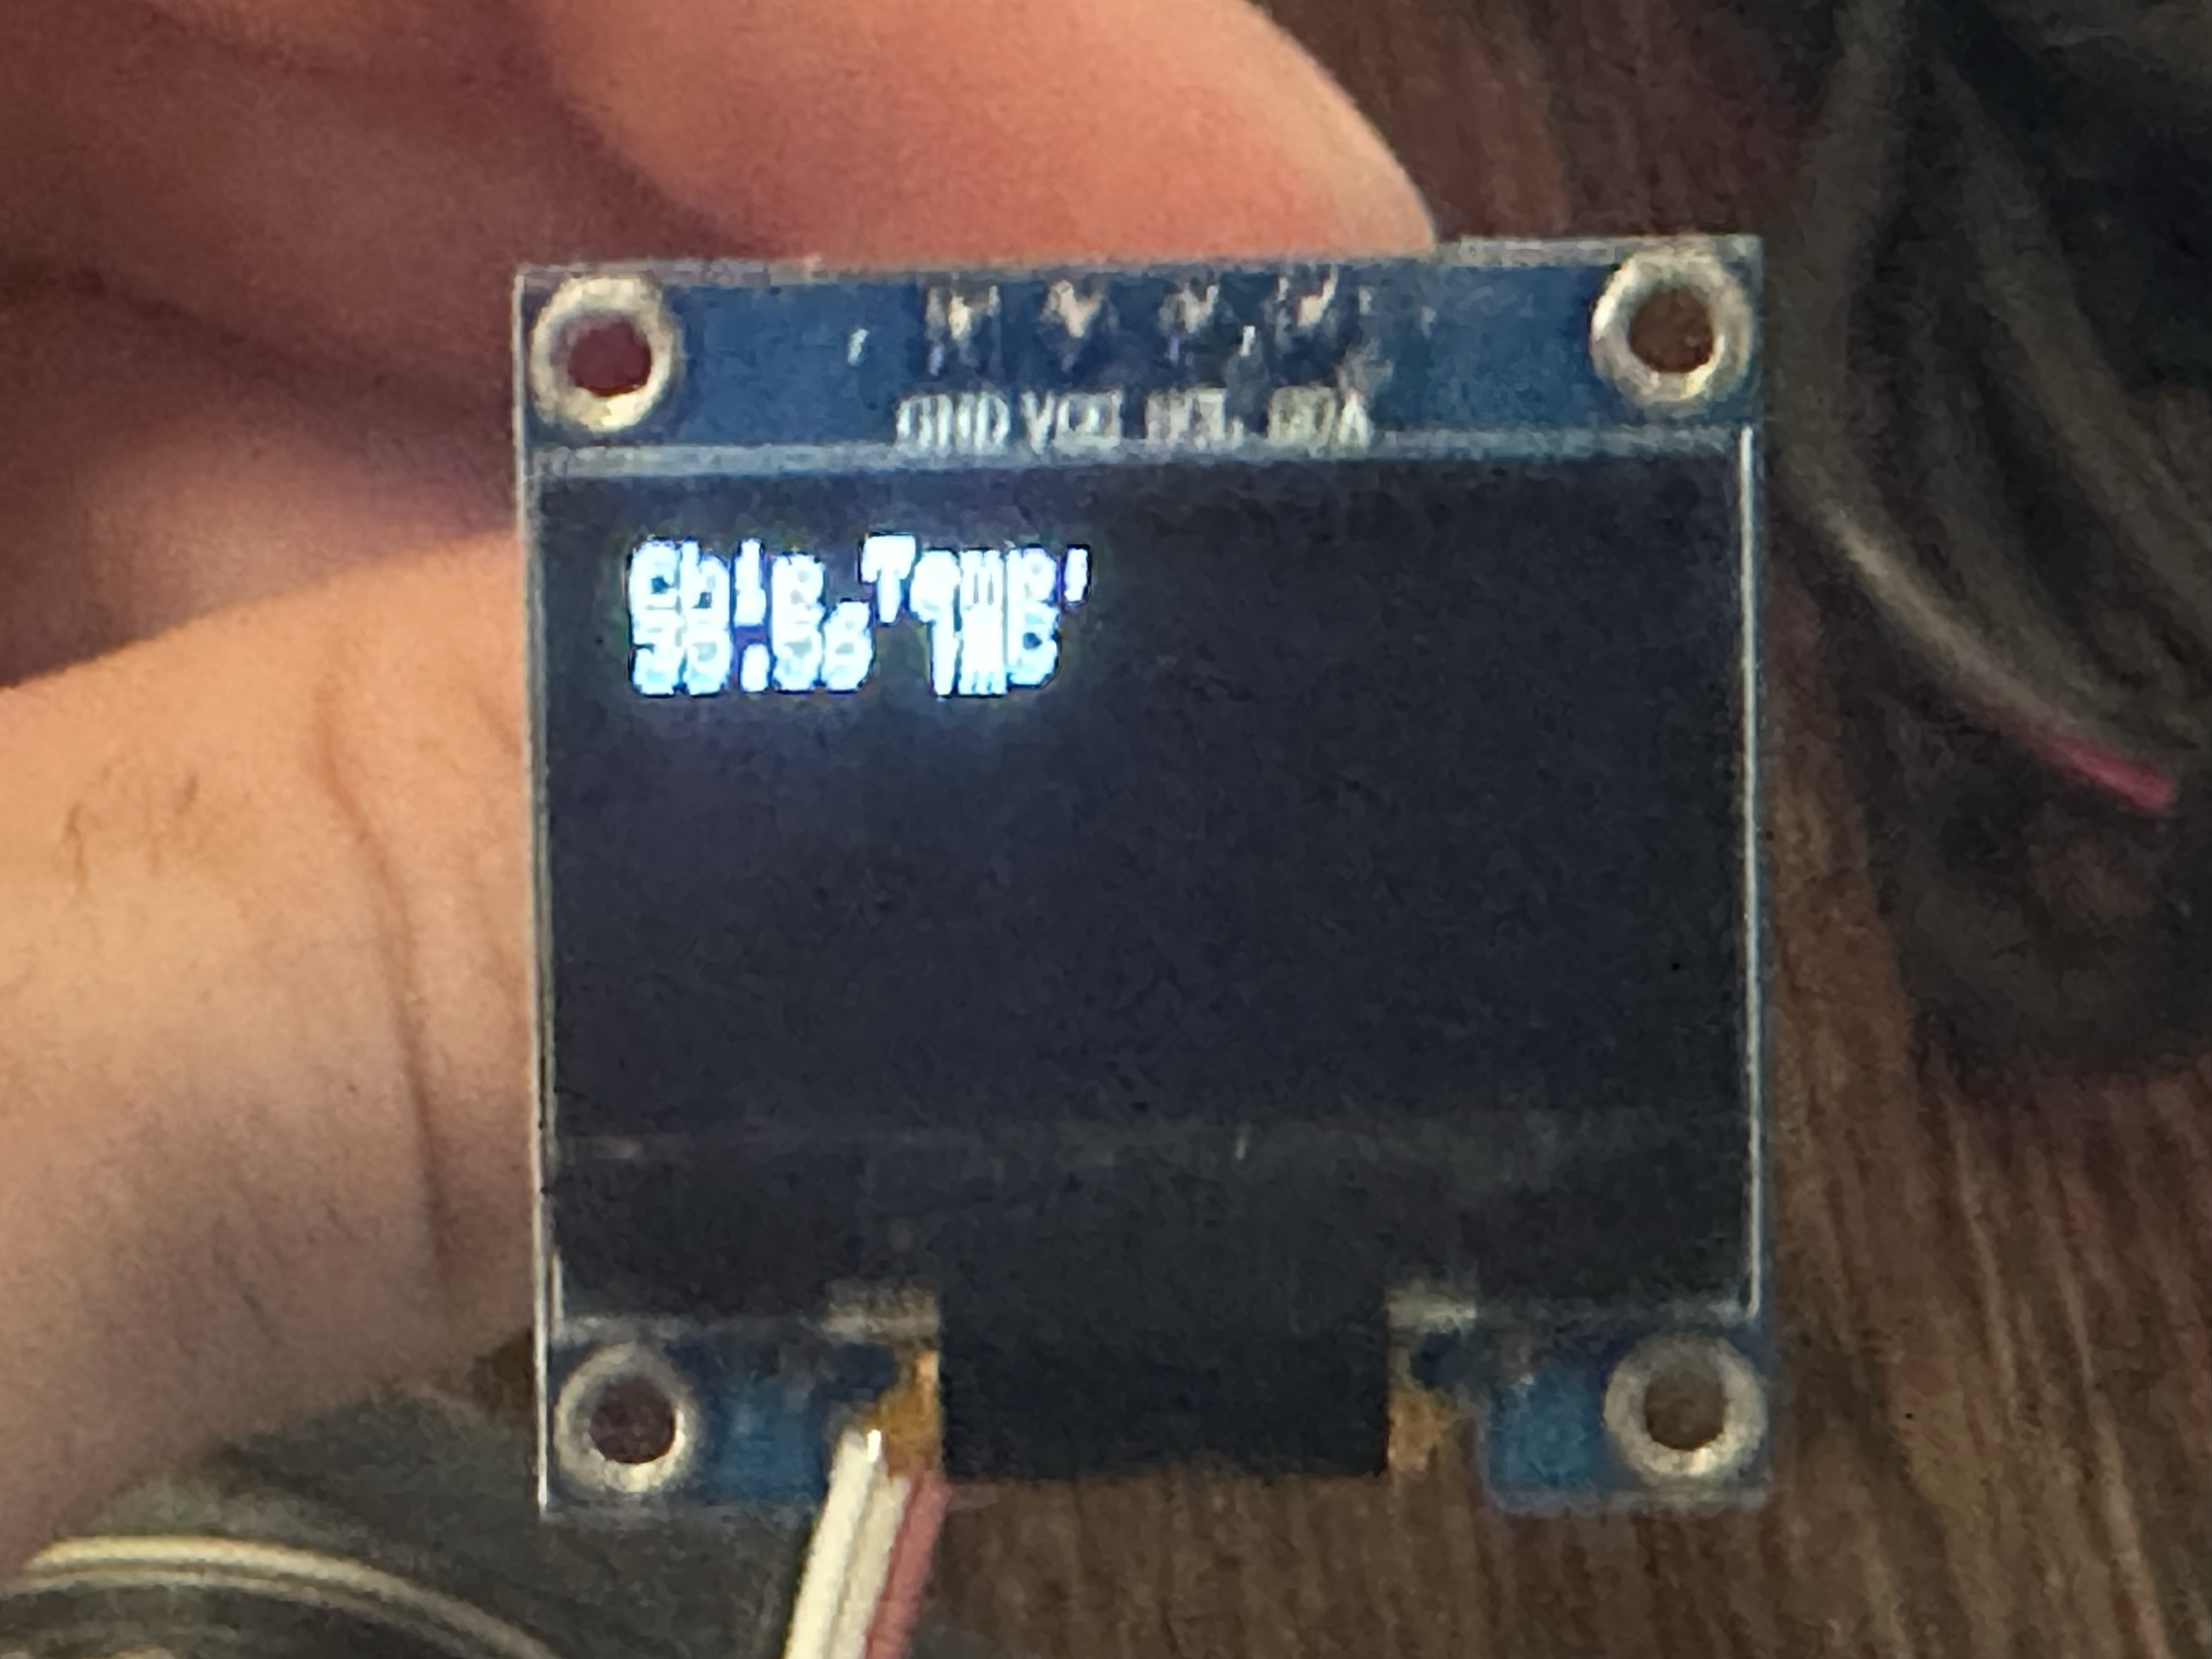
And now the screen display's the chip temperature! Very cool.