Pygame 3D Rendering Engine
September 1, 2024
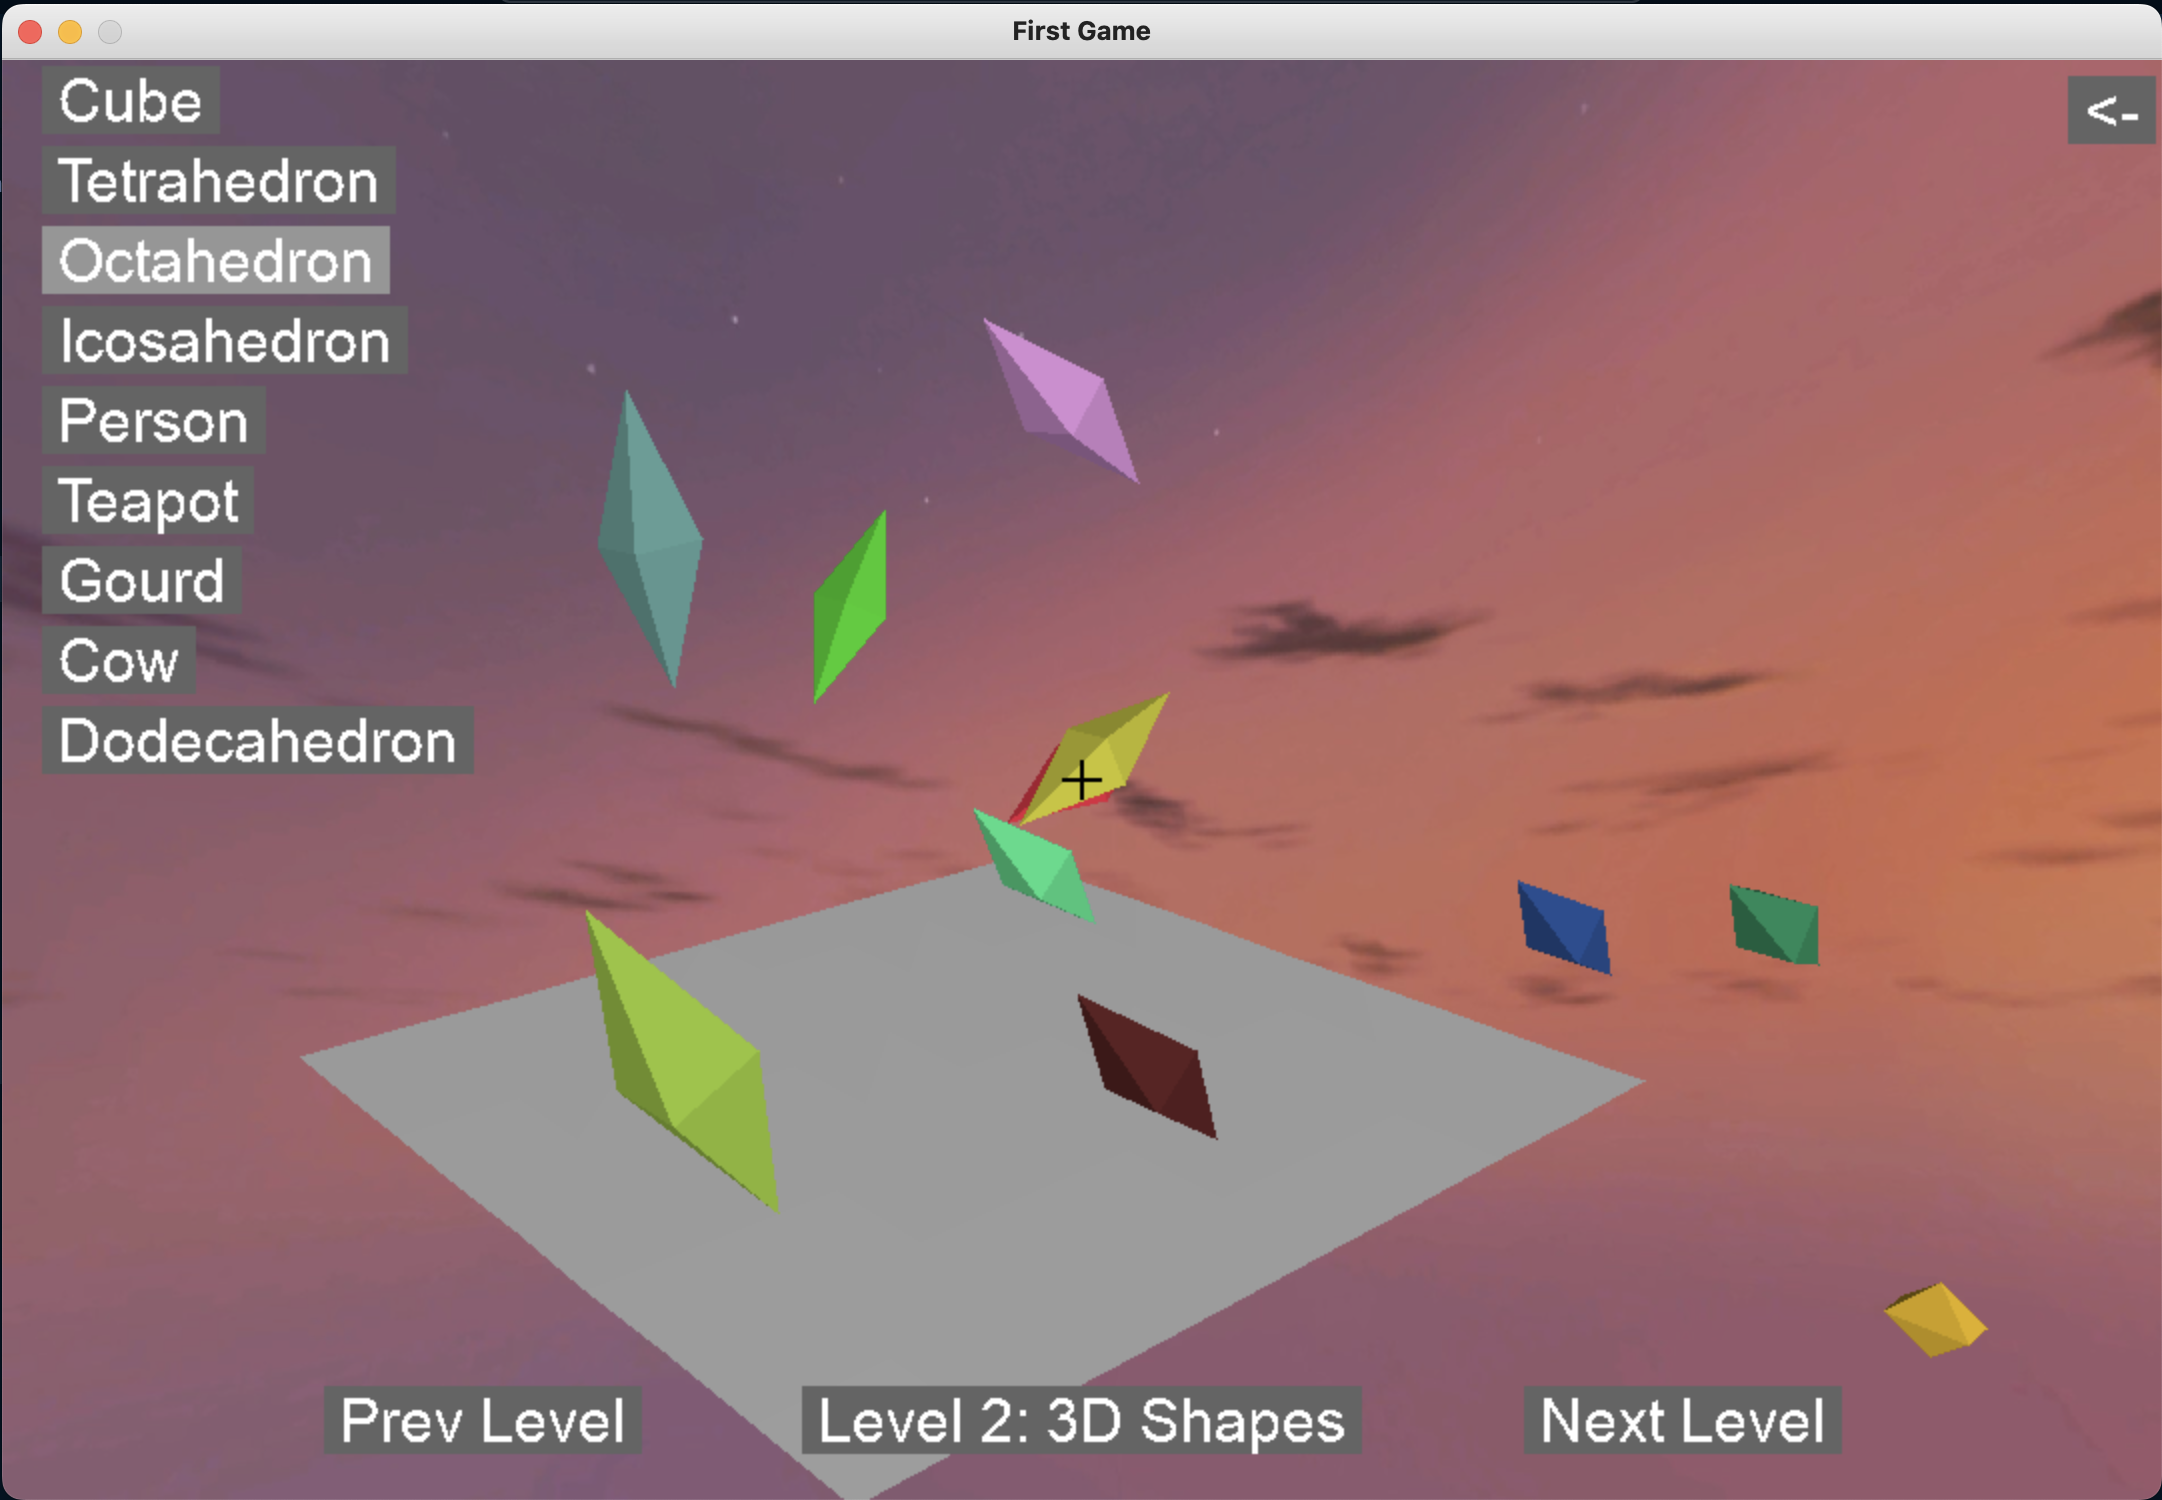
Last summer, I built a 3D rendering engine using Pygame which taught me to:
- Simulate a camera and render triangles
- Simulate lighting from a point source
- Calculate occlusion of distant objects
- Work with
.objfiles - Mathematically model, manipulate, and draw robot arms with forward kinematics
- Improve performance with a simple profiling system
Background
I kept getting ads on Instagram for this mobile game where you walk forward and collect coins. I knew that the gameplay in the ad wouldn't match the actual game, but I thought it looked easy enough to recreate and play for myself.
I thought building my own rendering engine would be a better learning experience than using a prebuilt one like Unity, and so what could have been a simple weekend project became a month-long exercise in linear algebra.
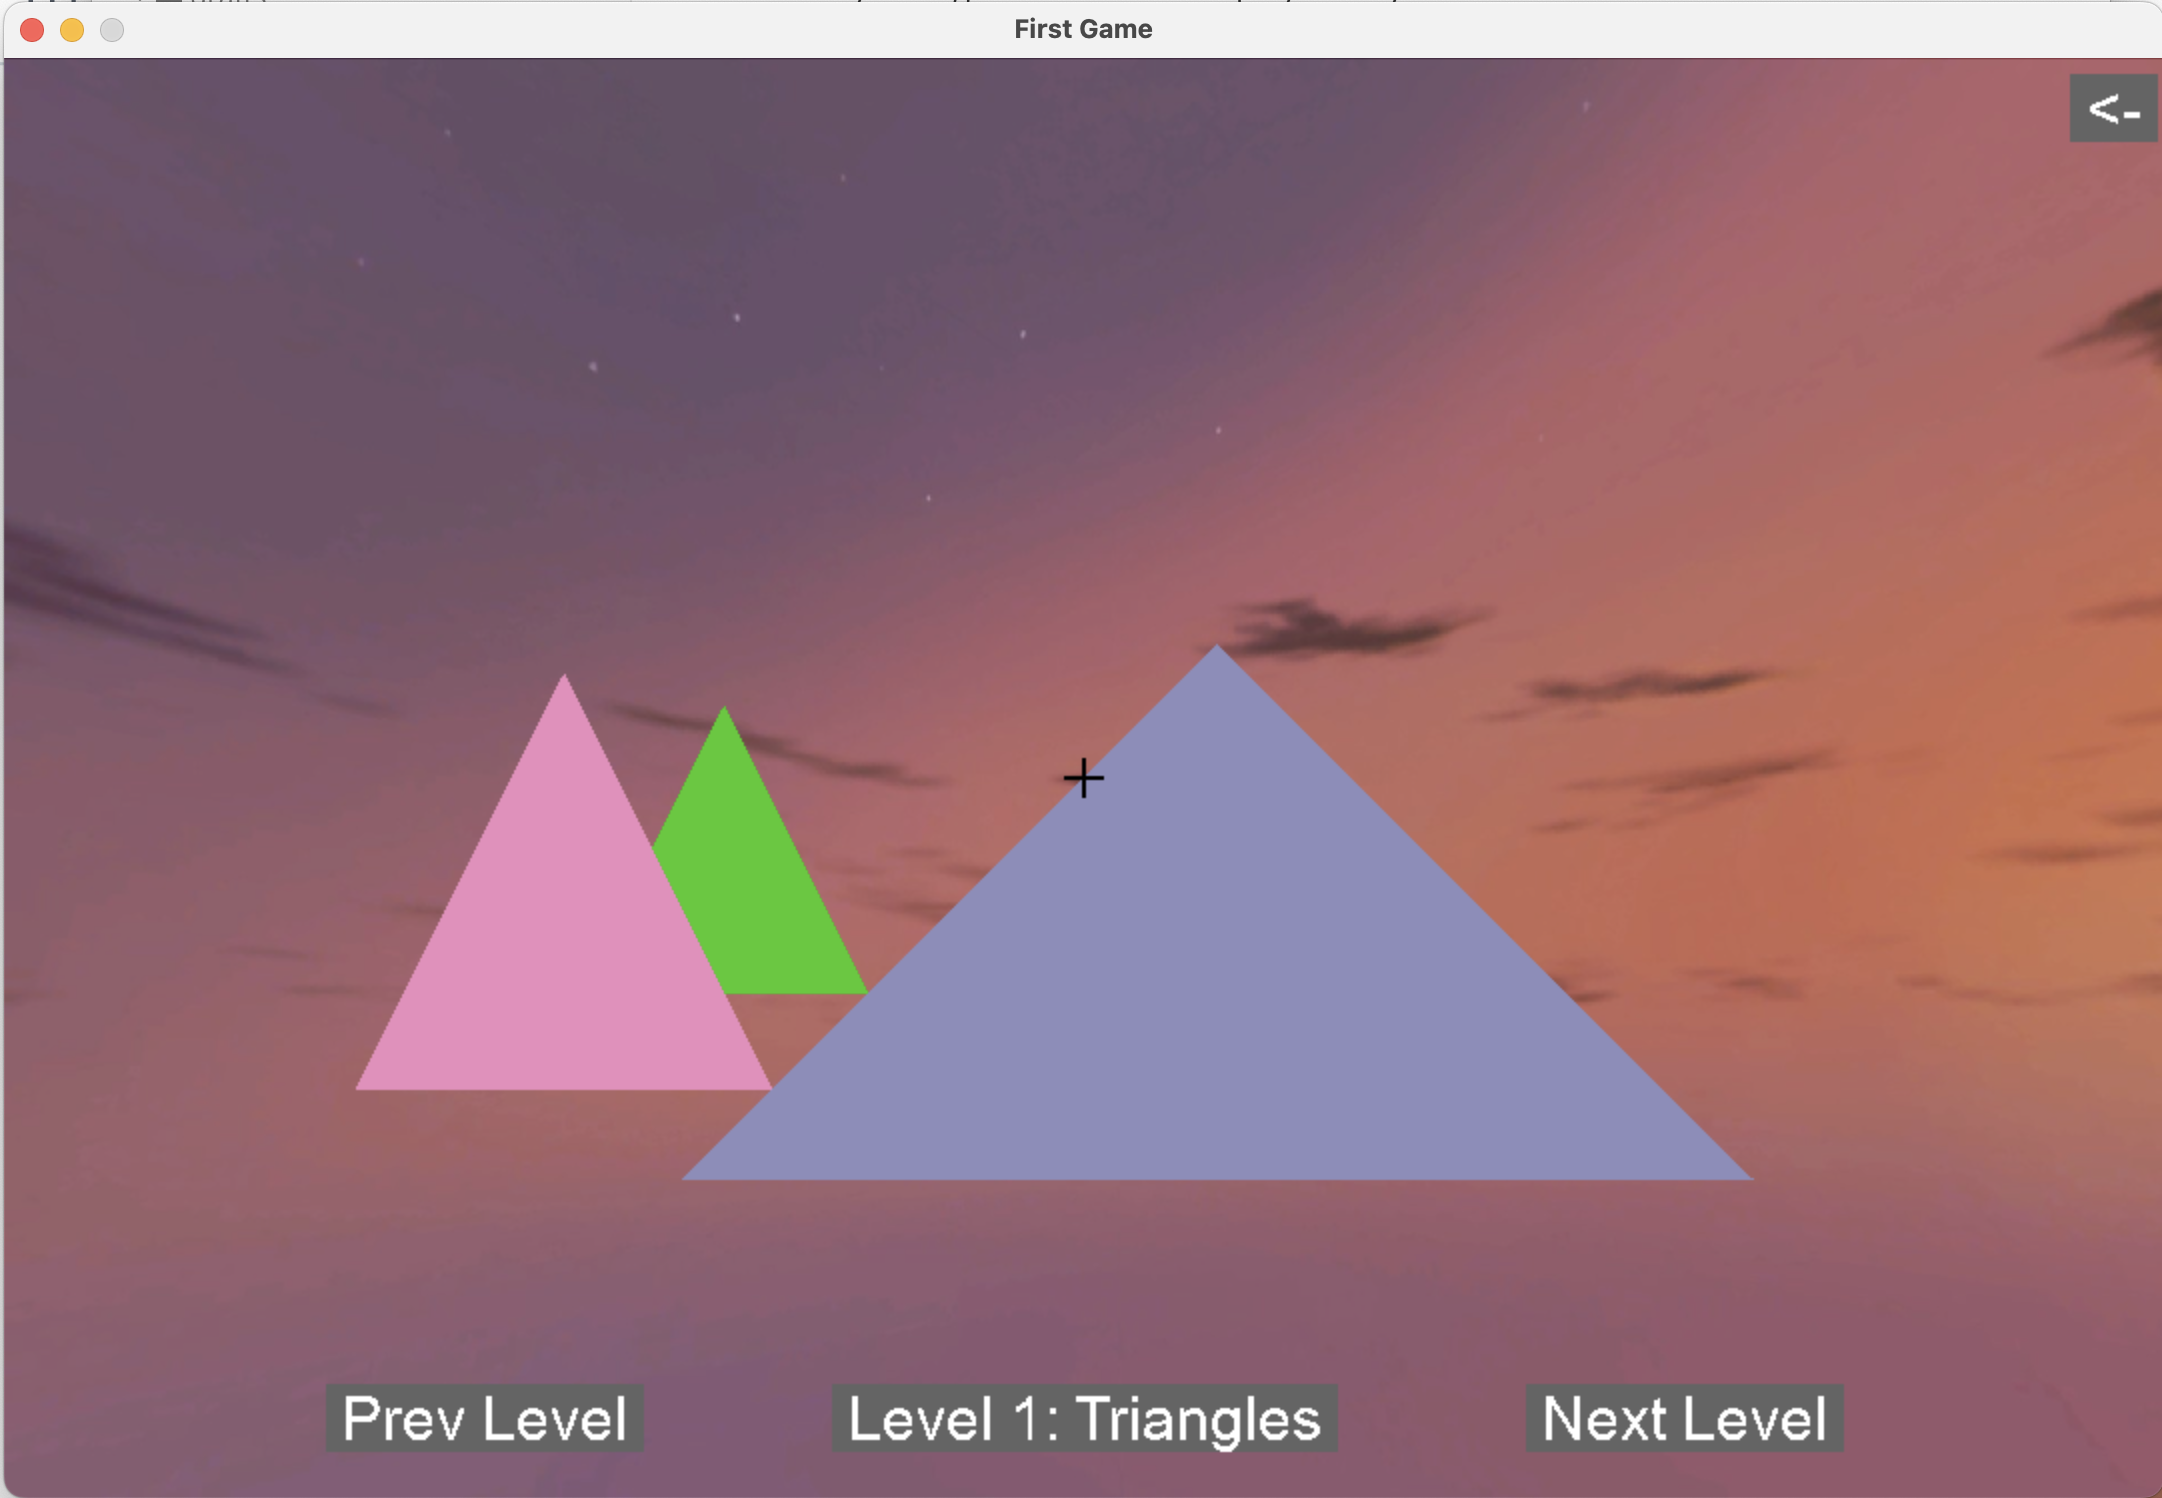
Starting point: Drawing Triangles
I chose to build the project in Python using PyGame because I was more interested in learning about the math behind rendering geometry than the math behind optimizing graphics for speed. I had made simple PyGame projects in school before, so this would be an easy starting point.
PyGame gives many functions for 2D drawing, but the only one I limited myself to for the rendering engine was draw.polygon which draws a closed figure from a list of points to the screen.
I defined a camera as an object with a Position, Orientation, and Field of View. Each triangle was a list of 3 points in 3D space.
I wrote a function called convert_3d_to_2d_coords that takes the camera's position, orientation, and field of view, and transforms the 3D coordinates of a triangle to their 2D equivalent on the plane of the window. Essentially, farther points get compressed closer to the center of the screen and nearer points get pushed farther from the center of the screen.
Calculating Occlusions
When rendering a scene with more than one triangle, the engine needs to know which order to draw the triangles in so that the ones nearer to the camera get drawn "on top" of the farther ones.
I use the painter's algorithm which accomplishes this by sorting the triangles in the world from far to near, and draws them in this order to achieve the correct rendering.
Since I assume that all the 3D objects in my world are closed meshes, meaning there are no holes in them, we also need to avoid rendering triangles that are facing "away" from the camera.
This is done by using the dot product of the triangle's normal with the vector from the camera to the center of the triangle. This operation essentially tells us if the triangle and the camera are facing the same direction, or in opposite directions. If a triangle is facing the camera, we keep it; if it is facing away from the camera, we don't render it.
These two techniques work well enough for my demo, but fail under certain edge cases.
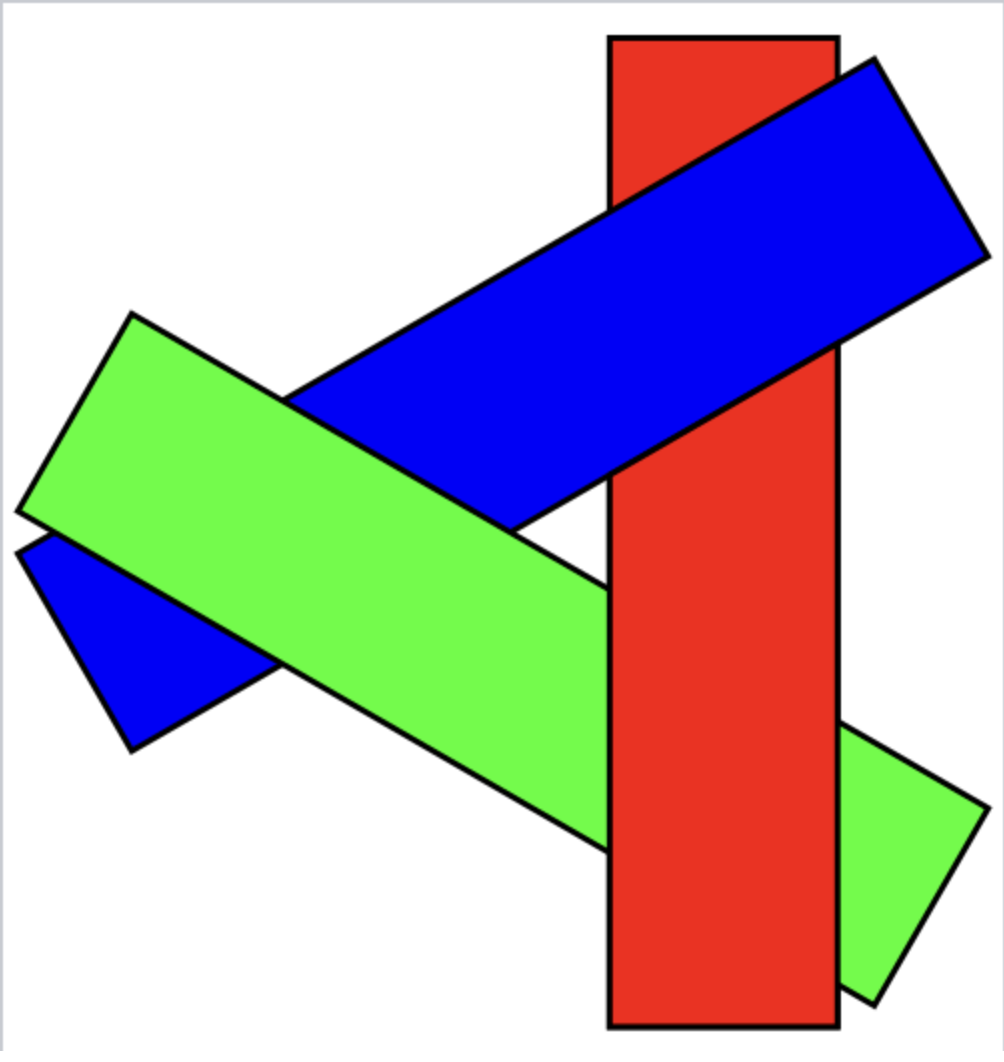
If there are any situations where polygons overlap in a cycle, the painter's algorithm will not be able to properly sort and render.
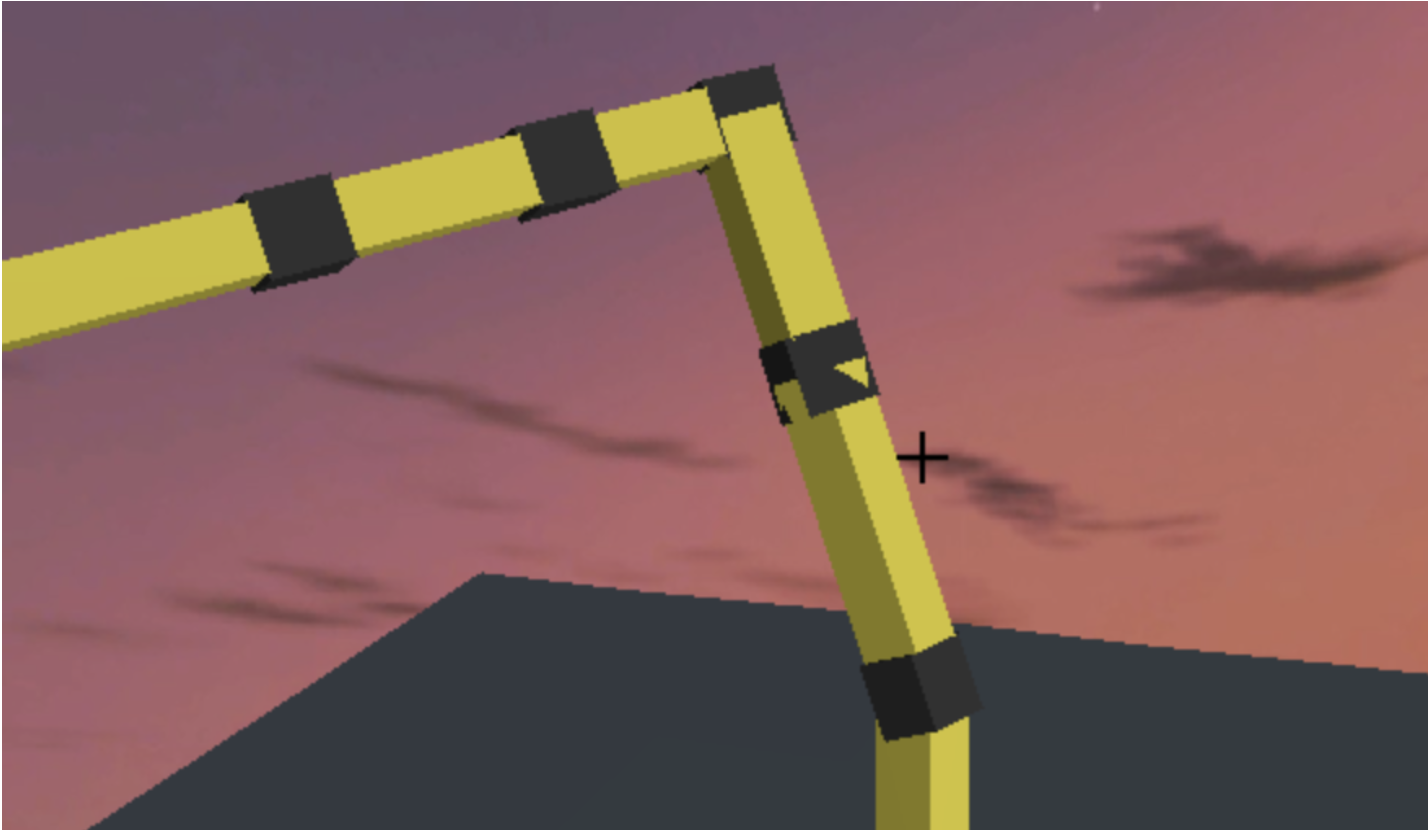
Also, it has trouble dealing with triangles of different sizes. Since it calculates distance from the center of the triangle, larger triangles can be close to the camera on one side, but far at the other. This can be seen with the clipping of the yellow prism through the black cube:
Basic Lighting: Shading Faces
Without lighting, 3D renderings don't quite look "3D" because all the faces blend together:
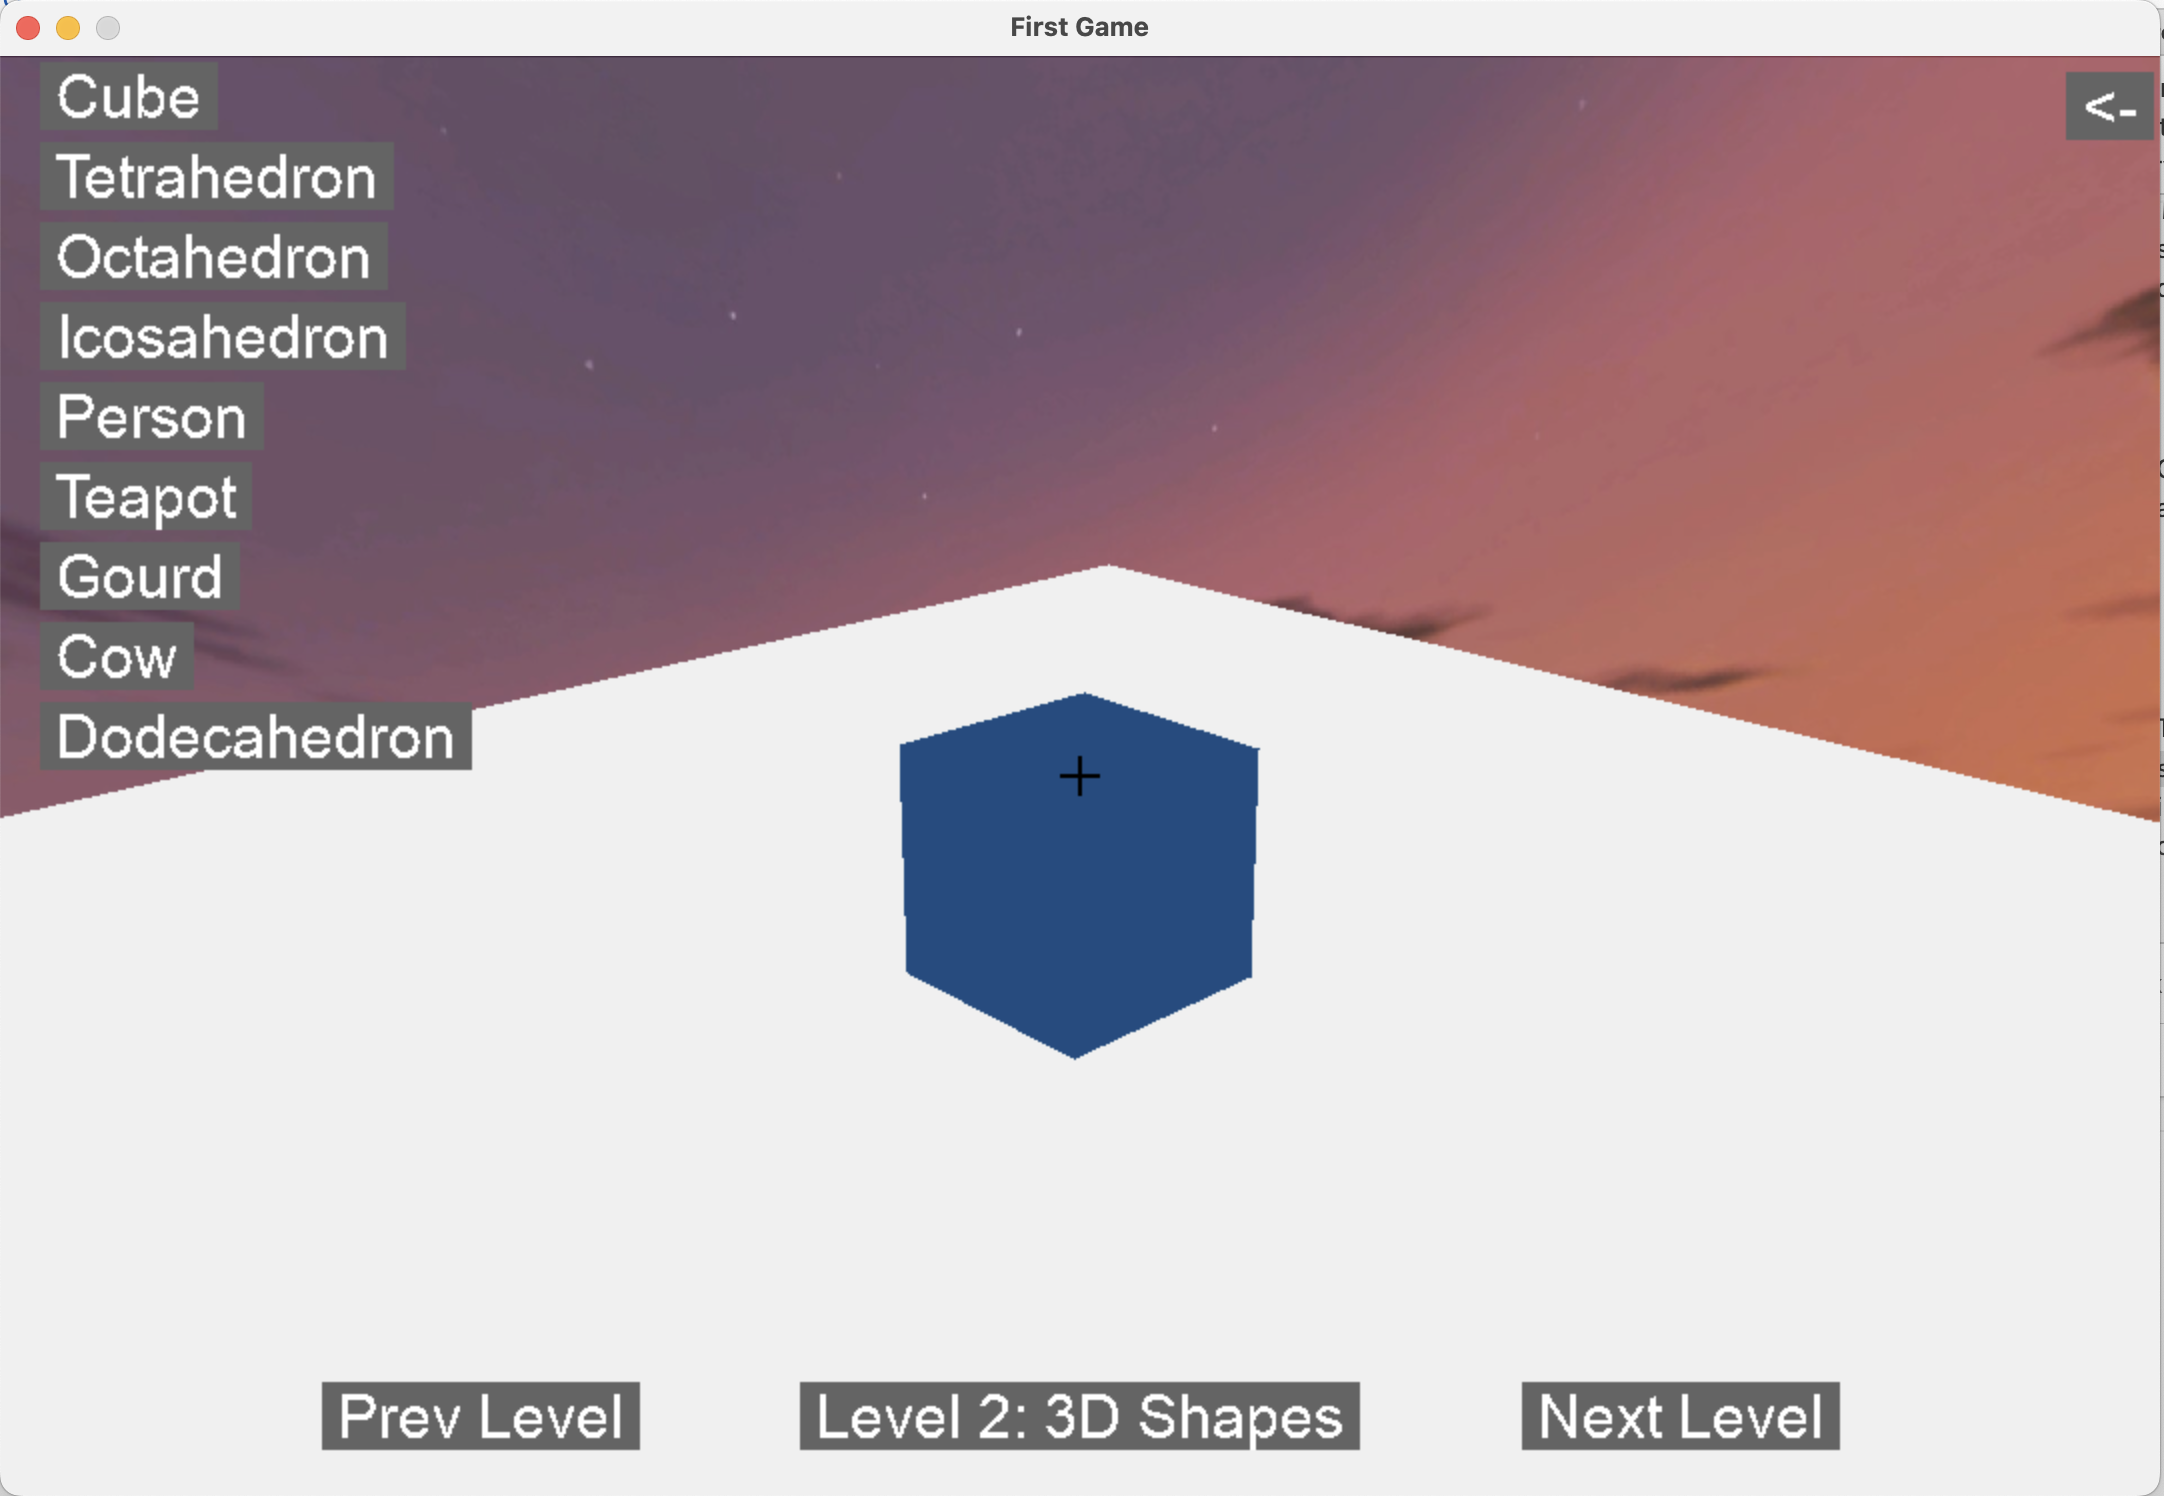
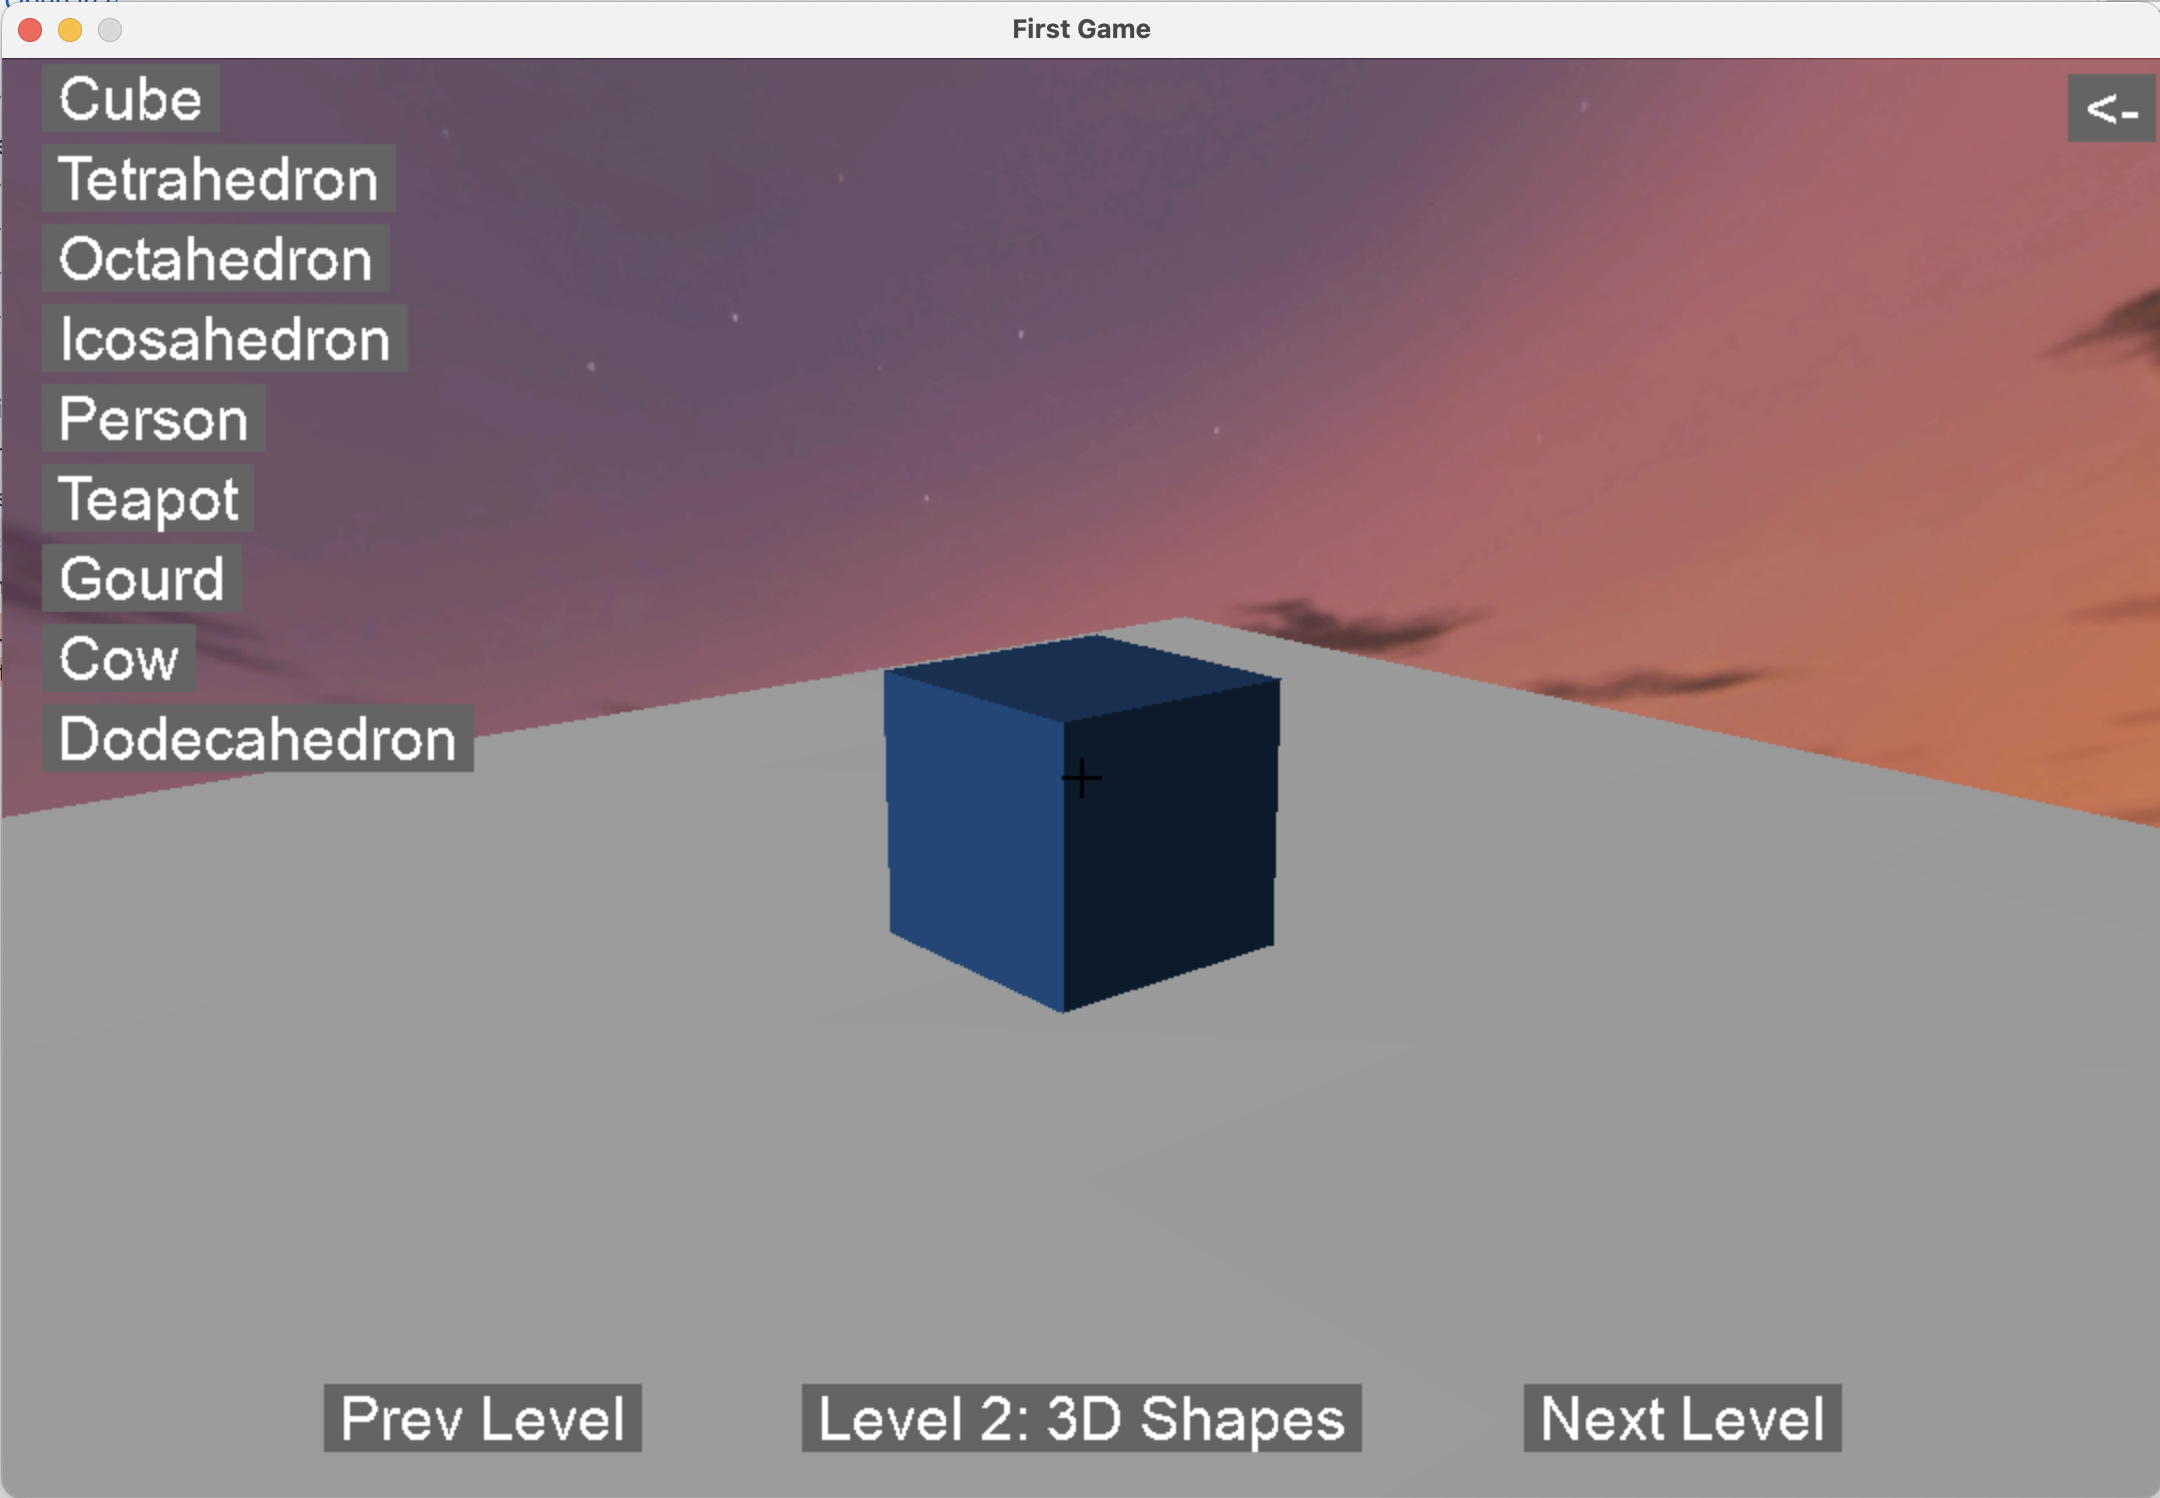
I added a basic lighting model with the idea that, if a triangle is facing directly towards the sun, it will be maximum brightness, and if it is facing directly away from the sun, it will be minimum brightness.
With this concept, I used the dot product between the normal of a triangle with the unit vector between the sun's position and the center of the triangle to get a lighting coefficient, and used this coefficient to decrease the value of each RGB channel of the triangle. This is very simplistic but achieves a nice 3D look with proper shading:
Complex Objects
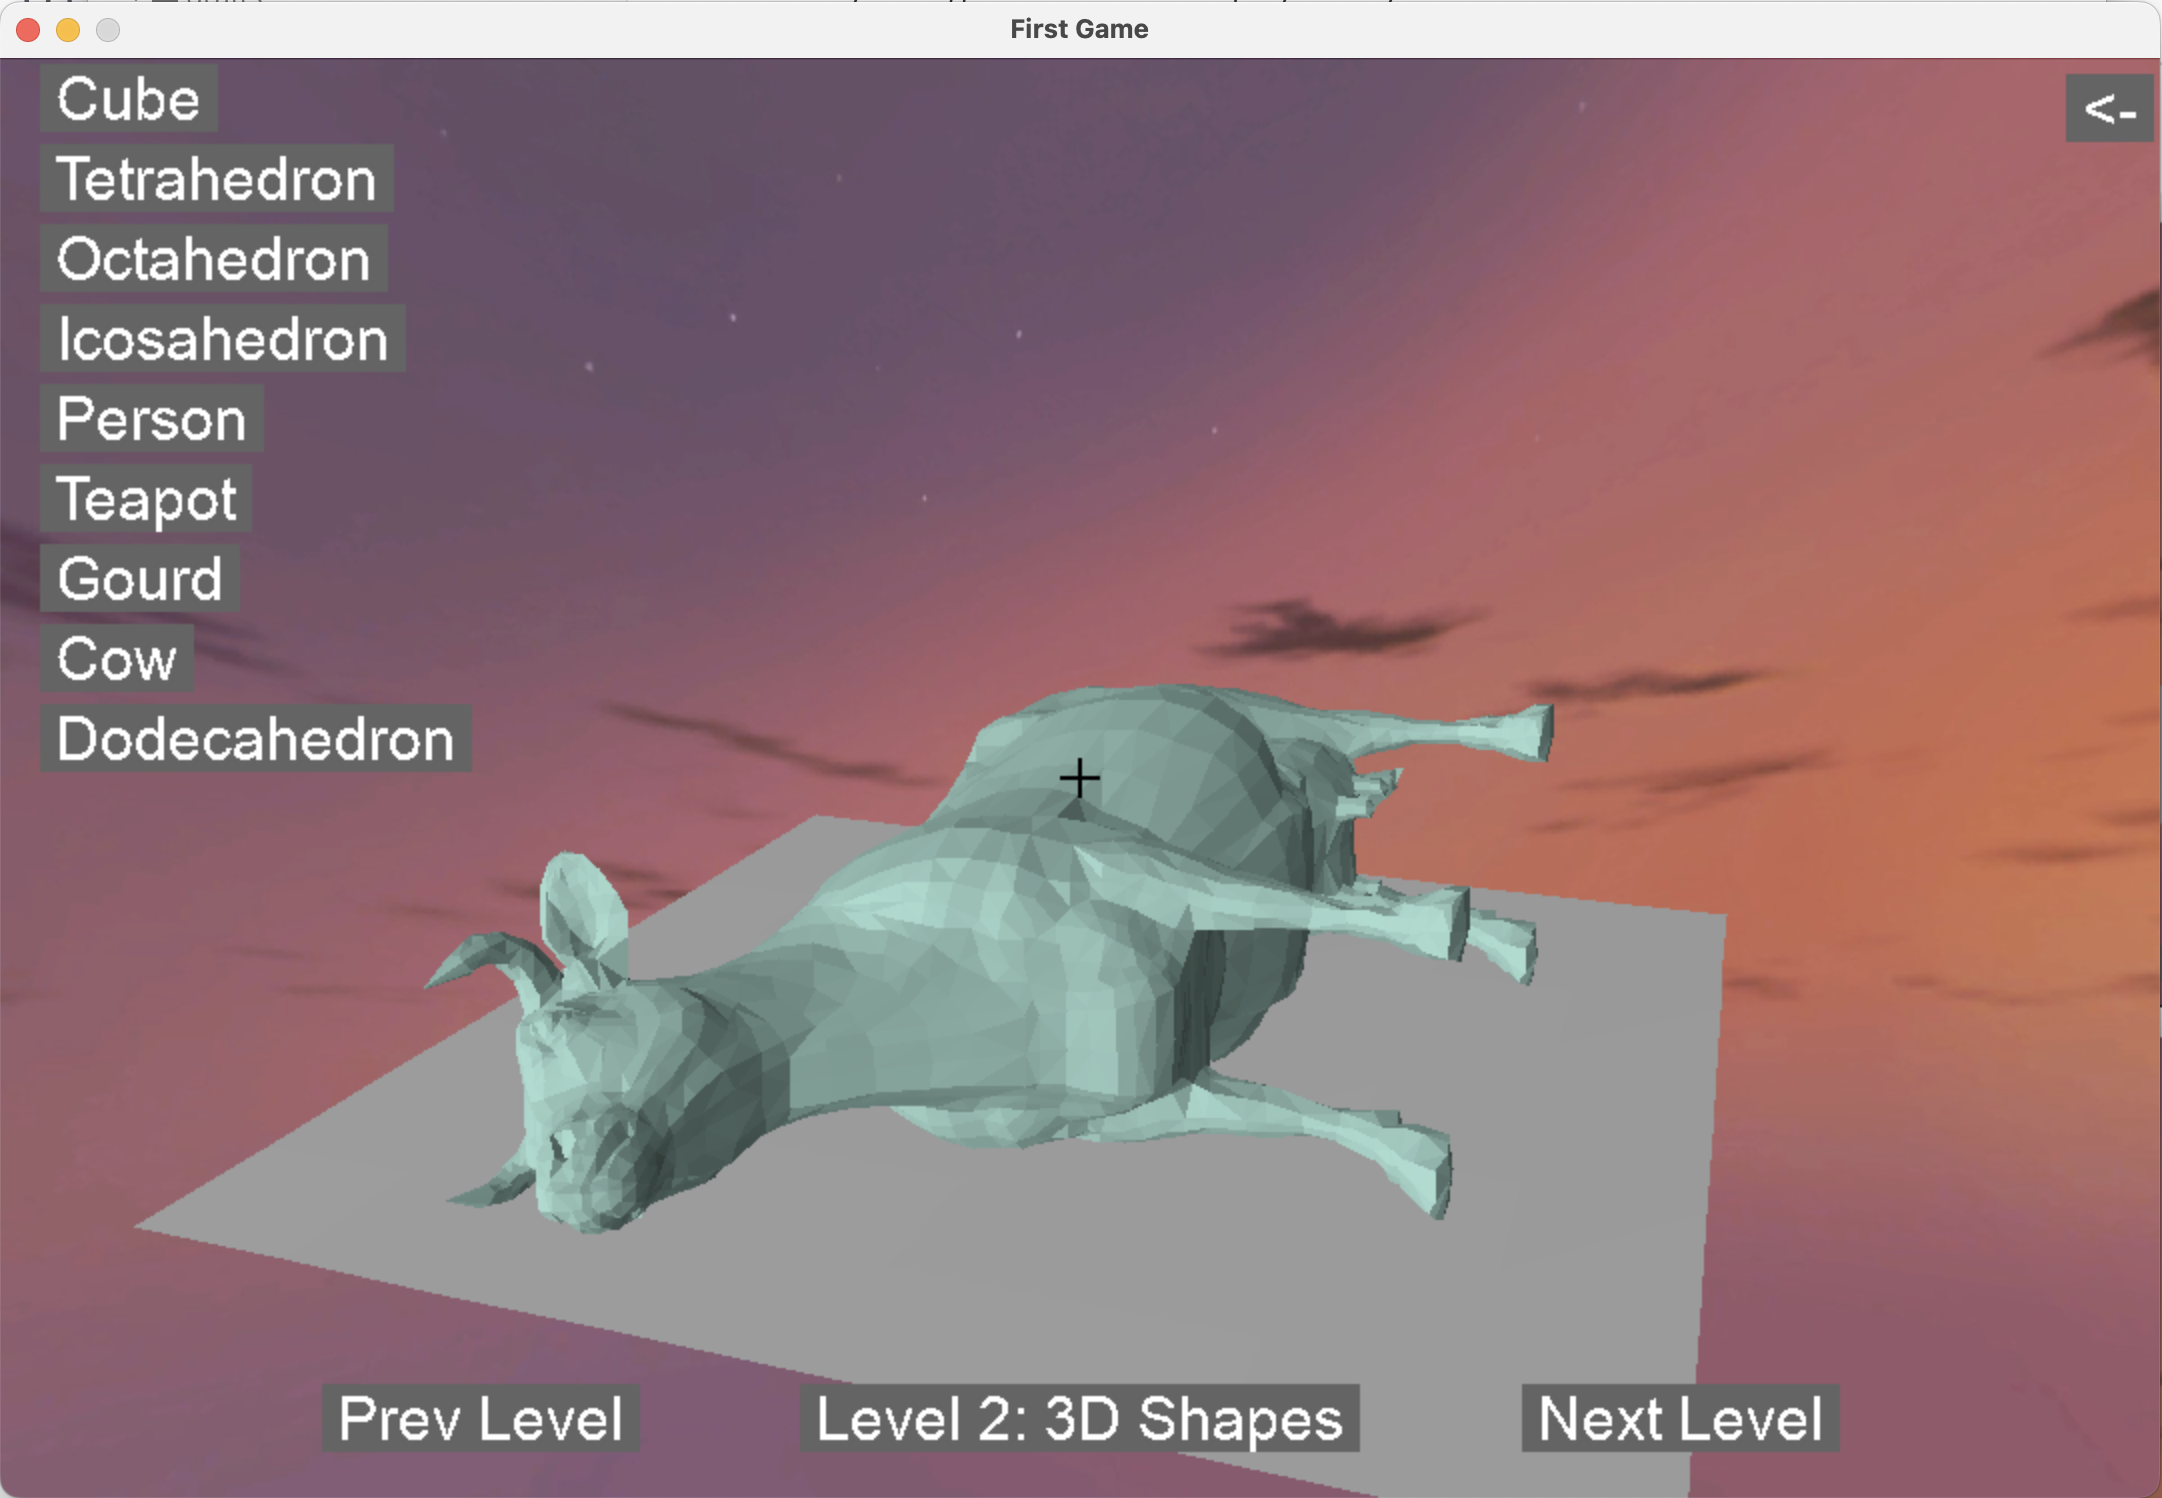
These simple transformations and rendering techniques allow us to render pretty cool objects. I wrote a function that loads .obj files and was able to draw this cow to the screen. Pretty neat!
Robot Arm Modeling
The robot arm is modeled as a kinematic chain — a series of rigid segments connected by rotational joints.
{
  "arm_lengths": [4, 5, 6, 7, 8],
  "joint_axes": [[0,0,1],[1,0,0],[0,1,0],[1,0,0],[0,0,1]],
  "theta0": [0, 0, 0, 0, 0]
}
Using these three lists, we can model a robot arm with 5 links and 5 joints. Each joint axis is a 3-vector that defines the 3D axis about which the next arm segment rotates.
Rotations on joint 0 will affect the position of all remaining segments, while rotations on joint 4 will only affect the final segment.
Optimization — Using Profiling
The idea of profiling is to report how long each function of the game loop takes. This visibility allows us to target the most computationally expensive parts and get the best speed increases.
I used timers around each step of the render pipeline and reported back the time per job.
get_lighted_color identified as bottleneck
| Stage | Jobs | Time (s) | ms/job |
|---|---|---|---|
| clipped_triangles | 19,832 | 0.575 | 0.0290 |
| facing_triangles | 19,832 | 1.917 | 0.0966 |
| update_dist_to_camera | 9,914 | 0.082 | 0.0083 |
| depth_buffer_triangles | 9,914 | 0.004 | 0.0004 |
| convert_3d_to_2d_coords | 29,742 | 0.507 | 0.0170 |
| get_lighted_color | 9,914 | 1.398 | 0.1411 |
| pygame.draw.polygon | 9,914 | 0.086 | 0.0087 |
| draw_loop | 9,914 | 2.461 | 0.2483 |
Color is now calculated once when triangles are loaded. get_lighted_color dropped from 0.1411ms → 0.0008ms. Draw loop dropped from 0.2483ms → 0.1005ms.
| Stage | Jobs | Time (s) | ms/job |
|---|---|---|---|
| clipped_triangles | 24,120 | 0.694 | 0.0288 |
| facing_triangles | 24,120 | 2.305 | 0.0956 |
| update_dist_to_camera | 12,056 | 0.100 | 0.0083 |
| depth_buffer_triangles | 12,056 | 0.005 | 0.0004 |
| convert_3d_to_2d_coords | 36,168 | 0.588 | 0.0162 |
| get_lighted_color | 12,056 | 0.009 | 0.0008 |
| pygame.draw.polygon | 12,056 | 0.083 | 0.0069 |
| draw_loop | 12,056 | 1.211 | 0.1005 |
Next, normals and centers were being recalculated every frame. Storing them on the triangle dropped facing_triangles from 0.0966ms → 0.0146ms.
| Stage | Jobs | Time (s) | ms/job |
|---|---|---|---|
| clipped_triangles | 45,024 | 1.334 | 0.0296 |
| facing_triangles | 45,024 | 0.656 | 0.0146 |
| update_dist_to_camera | 22,506 | 0.196 | 0.0087 |
| depth_buffer_triangles | 22,506 | 0.010 | 0.0005 |
| convert_3d_to_2d_coords | 67,518 | 1.119 | 0.0166 |
| get_lighted_color | 22,506 | 0.018 | 0.0008 |
| pygame.draw.polygon | 22,506 | 0.158 | 0.0070 |
| draw_loop | 22,506 | 2.296 | 0.1020 |
Finally, I Could Play My Game!
I added a couple more controls and built my simple coin collecting game. It was alright. The real fun was all of the cool concepts I learned along the way!